

Add Company
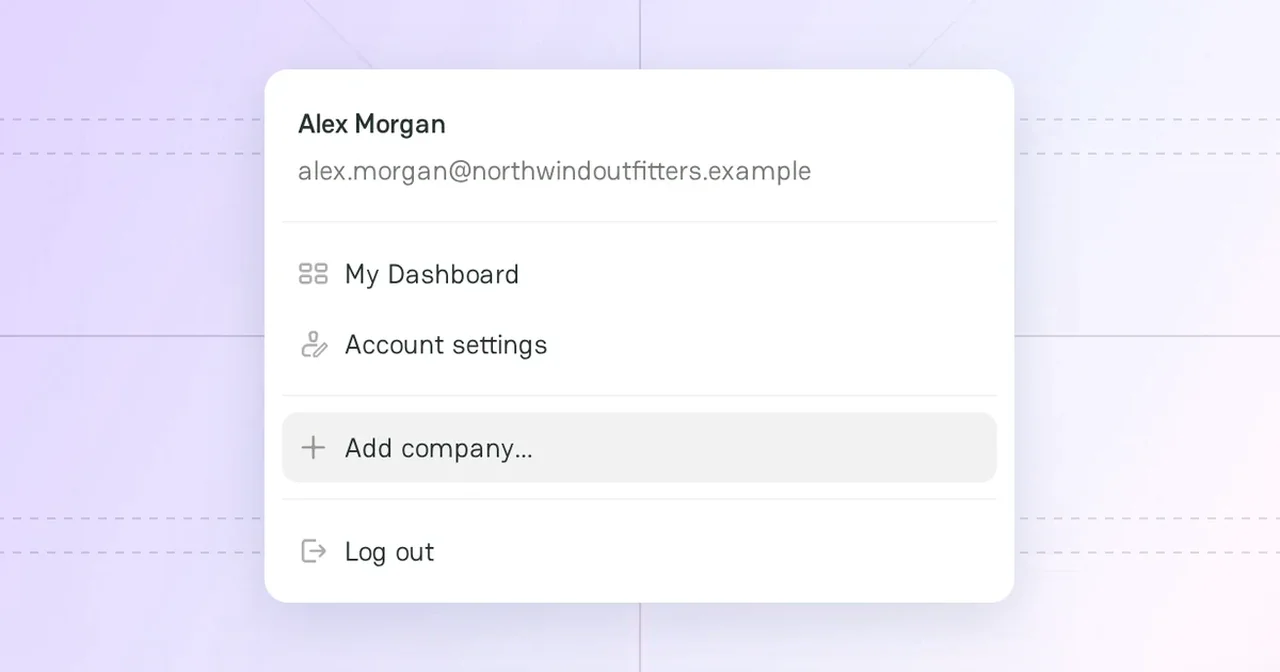
To work on PayAtlas as a business, add a Company to your account. The setup has two steps: you choose the role of the company, and then you enter its website and a few optional details. The steps differ for a merchant and a provider, and this guide covers both.
Before you start, prepare the website address of your business.
Make sure that no other company on PayAtlas uses your website. One website can belong to only one company.
Company setup window
Open the company setup window in one of these places:
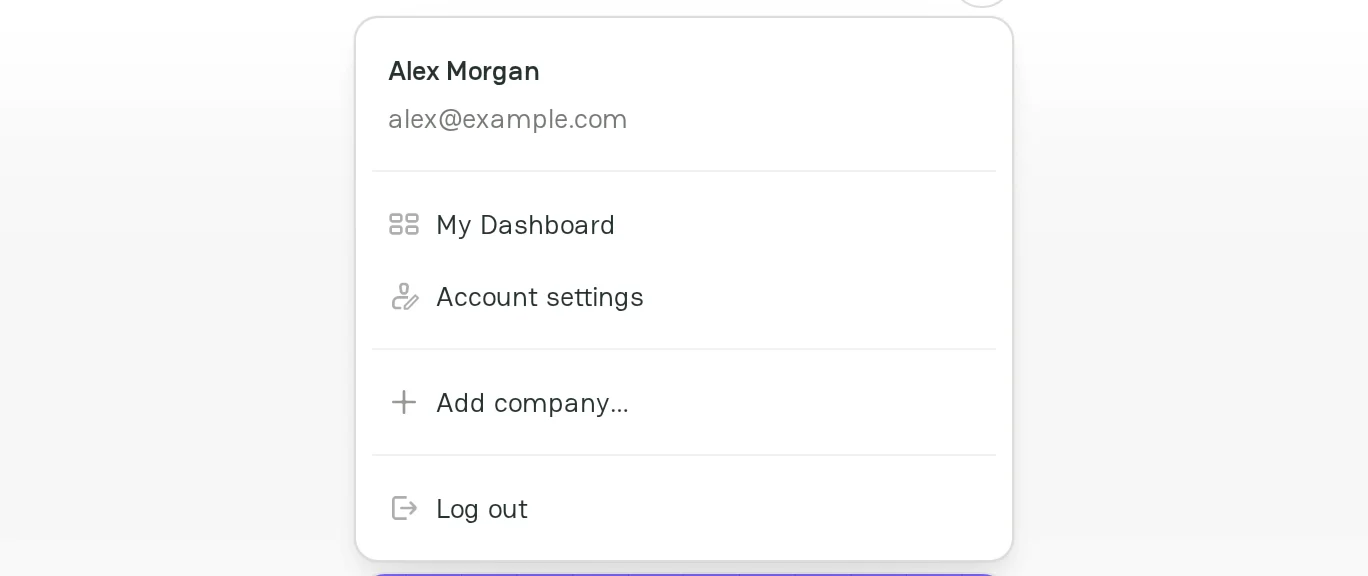
- In the header, click your avatar. If you have no company yet, click Add company….
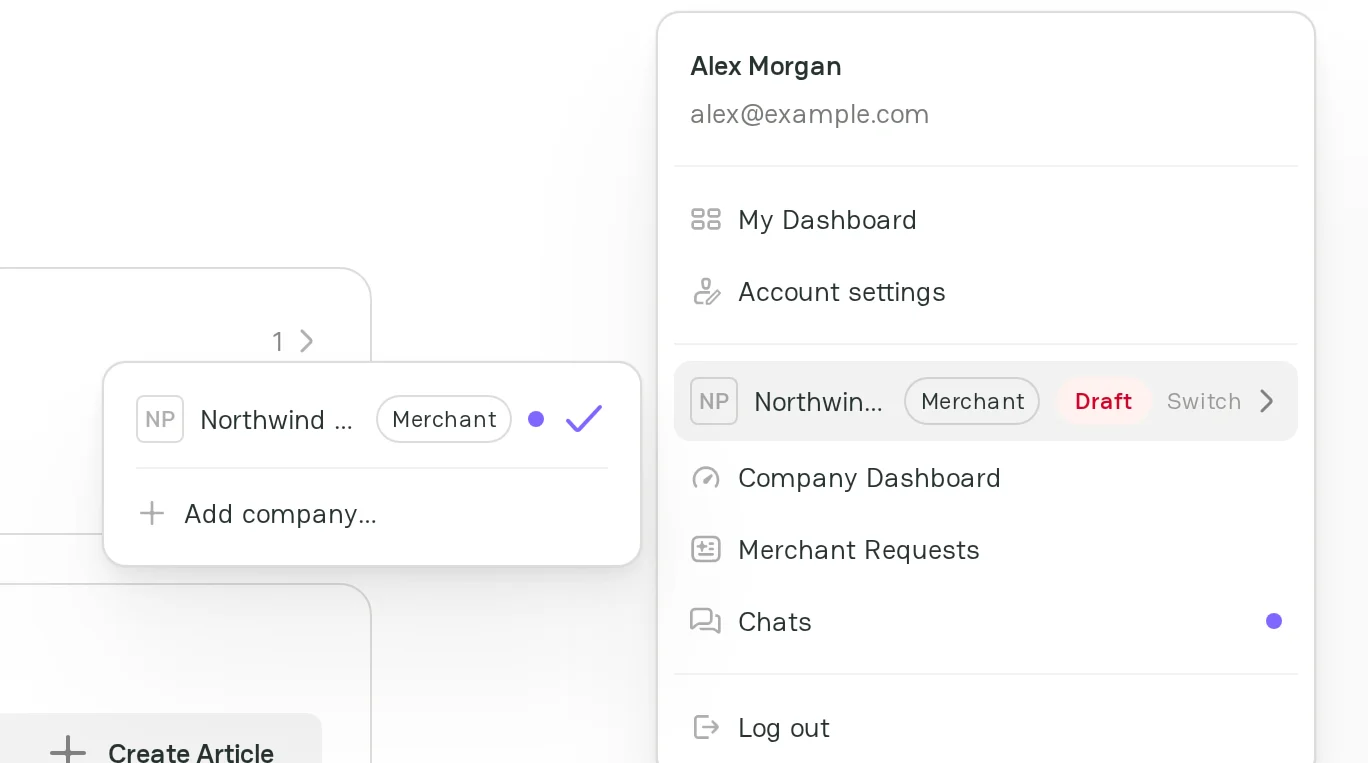
- In the header, click your avatar. If you already have a company, click Switch, and then click Add company….
- On My Dashboard, in the Companies card, click Add company.
- On My Companies, click Add. If you have no companies yet, click Add your first company.
Role selection
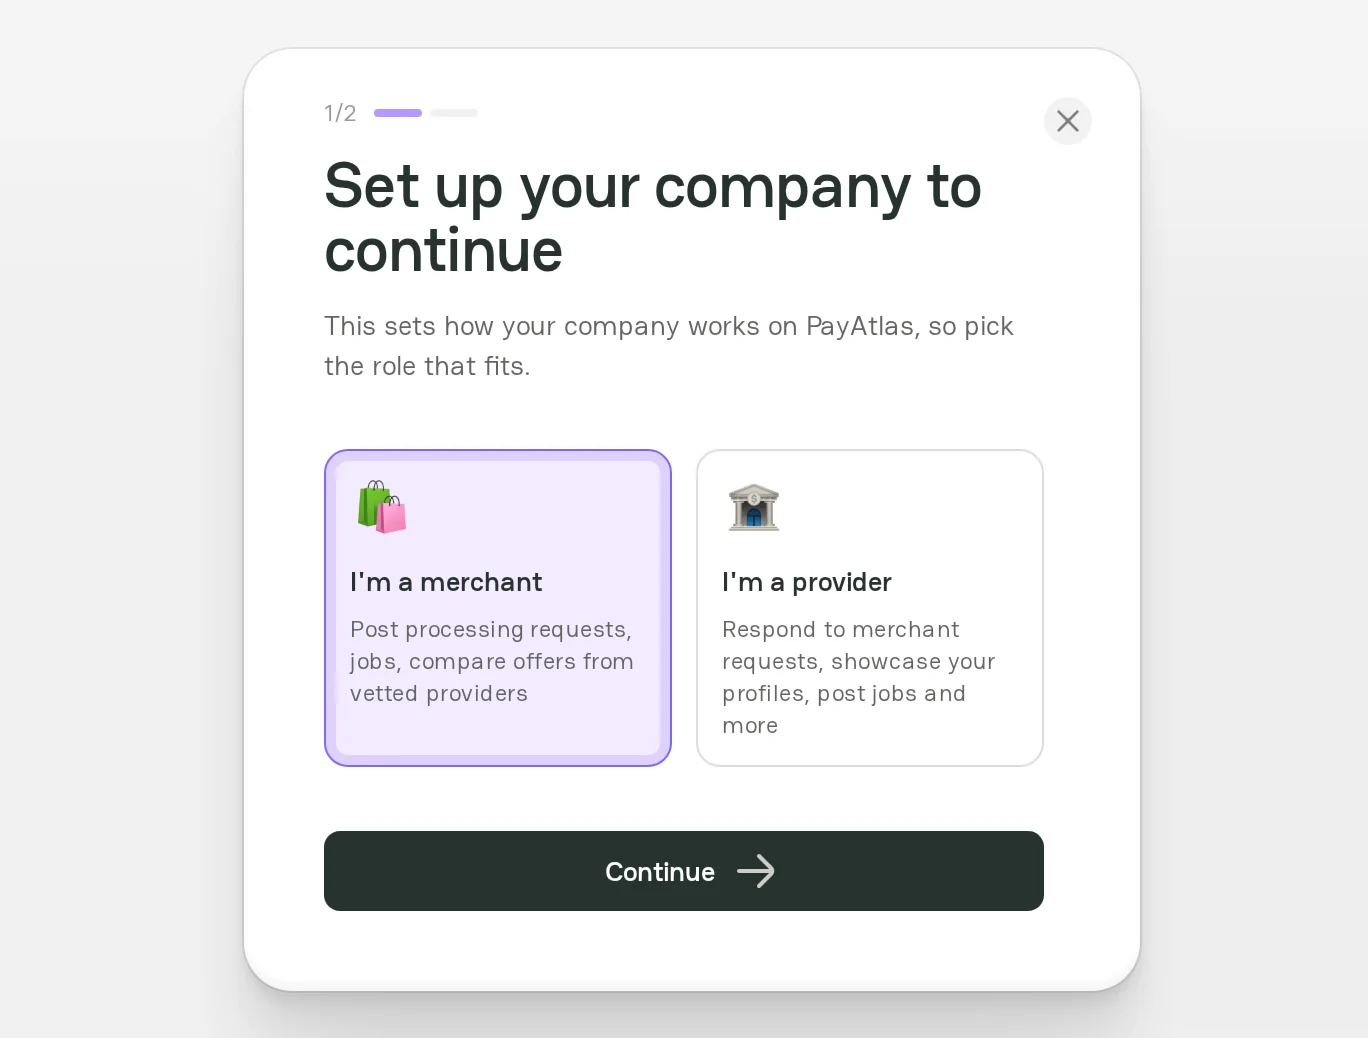
The role sets what your company can do on PayAtlas. For more information, see Company overview.
| Role | Choose it if your business | What you can do |
|---|---|---|
| I'm a merchant | Accepts payments and looks for a payment provider | Find providers in Navigator, post processing requests and jobs, and compare offers from providers |
| I'm a provider | Offers payment services to merchants | Show your services on the Company Profile, respond to merchant requests, and post jobs |
Pay attention! You cannot change the role after you create the company. If you selected the wrong role, contact the PayAtlas support team.
- Select I'm a merchant or I'm a provider.
- Click Continue.
Then follow the section for your role: Merchant company or Provider company.
Merchant company
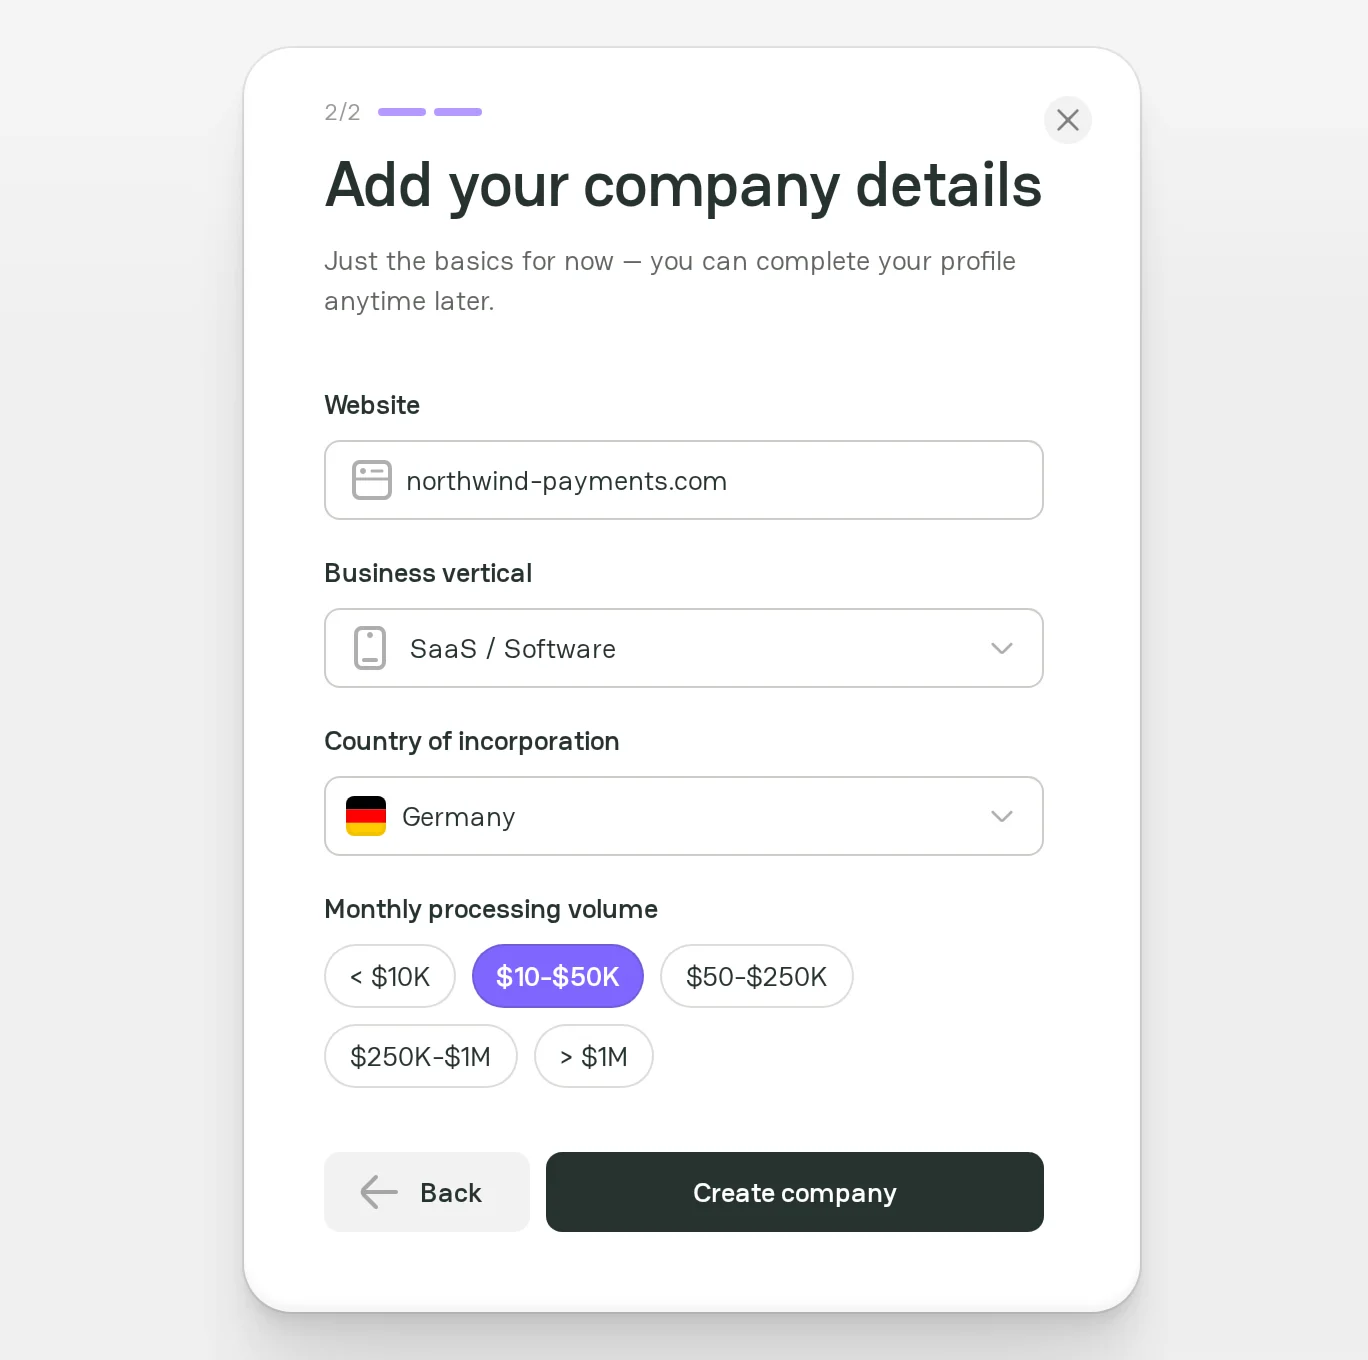
Enter the merchant details
The merchant form has these fields:
| Field | Required | What to enter |
|---|---|---|
| Website | Yes | The website address of your company, for example northwind-payments.com |
| Business vertical | No | The industry of your business, for example SaaS / Software |
| Country of incorporation | No | The country where your company is registered |
| Monthly processing volume | No | The amount that your business processes each month |
PayAtlas uses the business vertical and the country of incorporation to recommend payment providers. You can also fill in the optional fields later in Company Dashboard.
- Fill in the fields.
- Click Create company.
Check the merchant result
After PayAtlas creates the company, the Your merchant profile is ready window opens. If providers match the business vertical or the country that you entered, the window shows how many providers match. If no provider matches, the window suggests that you search Navigator.
- To see the matching providers in Navigator, click View recommended providers.
- To stay on the current page, click Close.
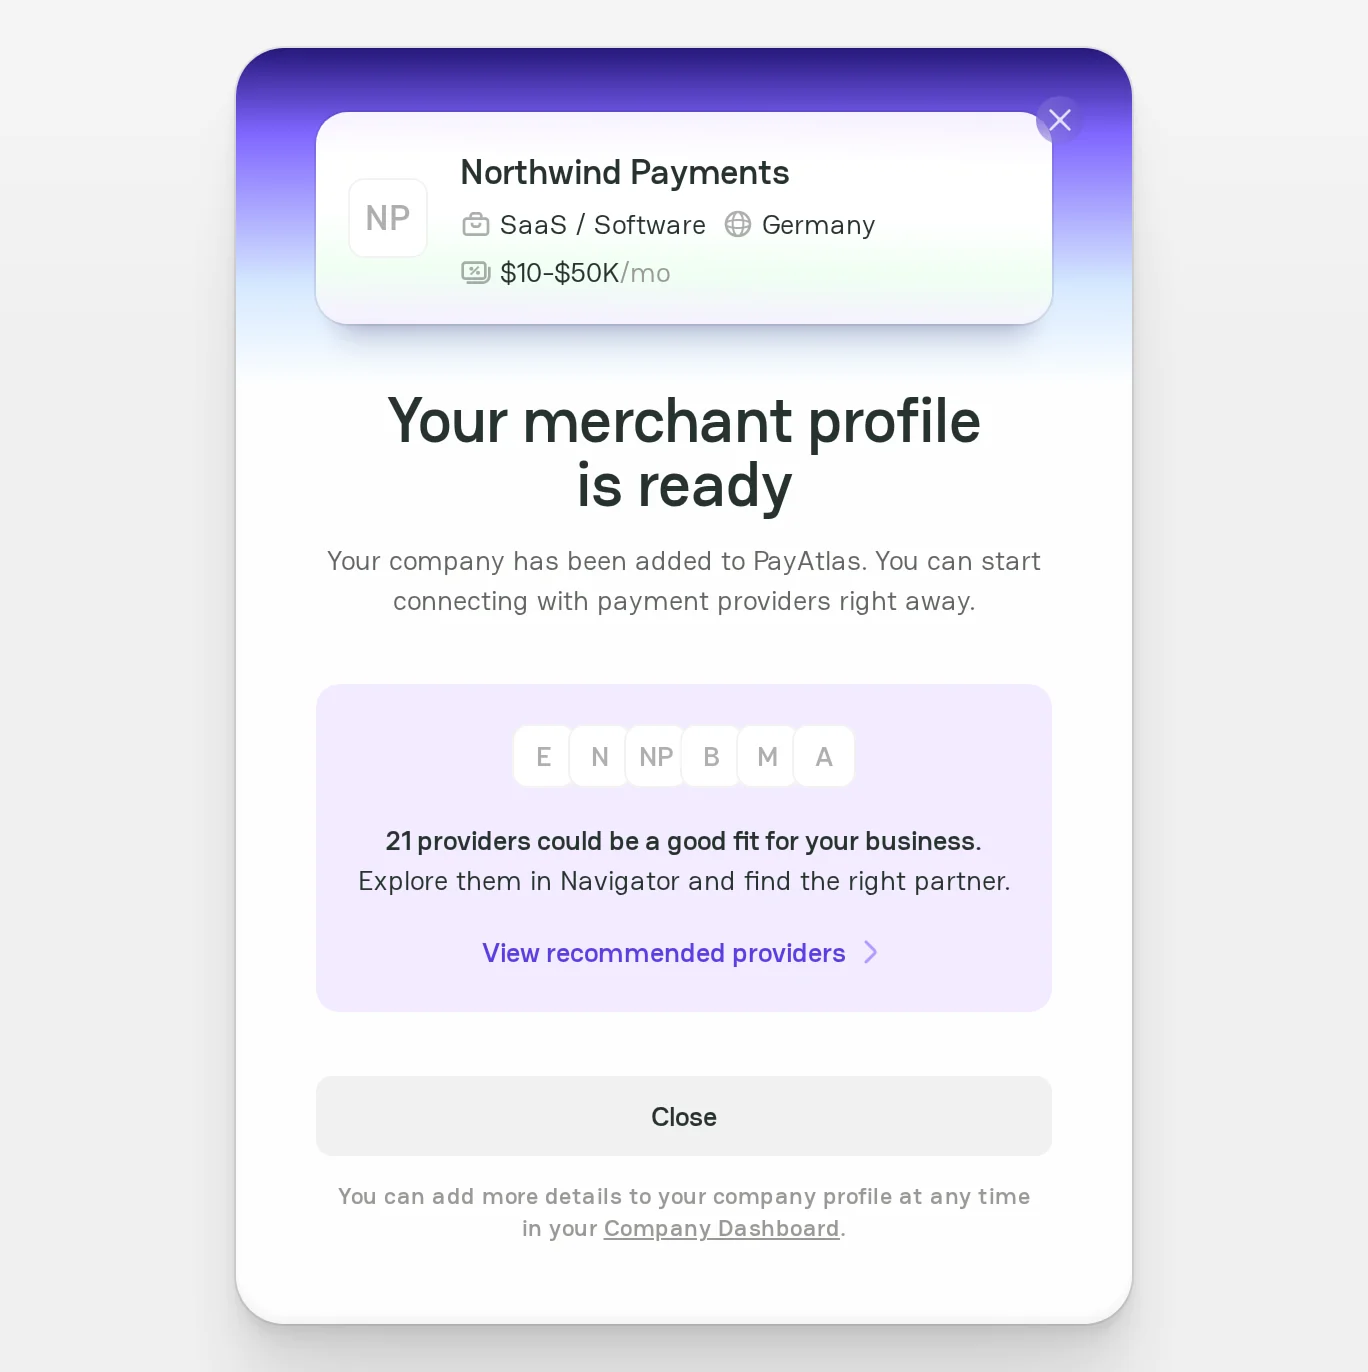
You can look for providers and contact them right away. The Company Profile stays a draft, and the user menu shows the Draft badge. Other users see the profile after you publish it.
To publish the merchant profile, add the profile icon, the full logo, and the description in the About section of Company Dashboard. For more information, see Manage merchant profile.
Provider company
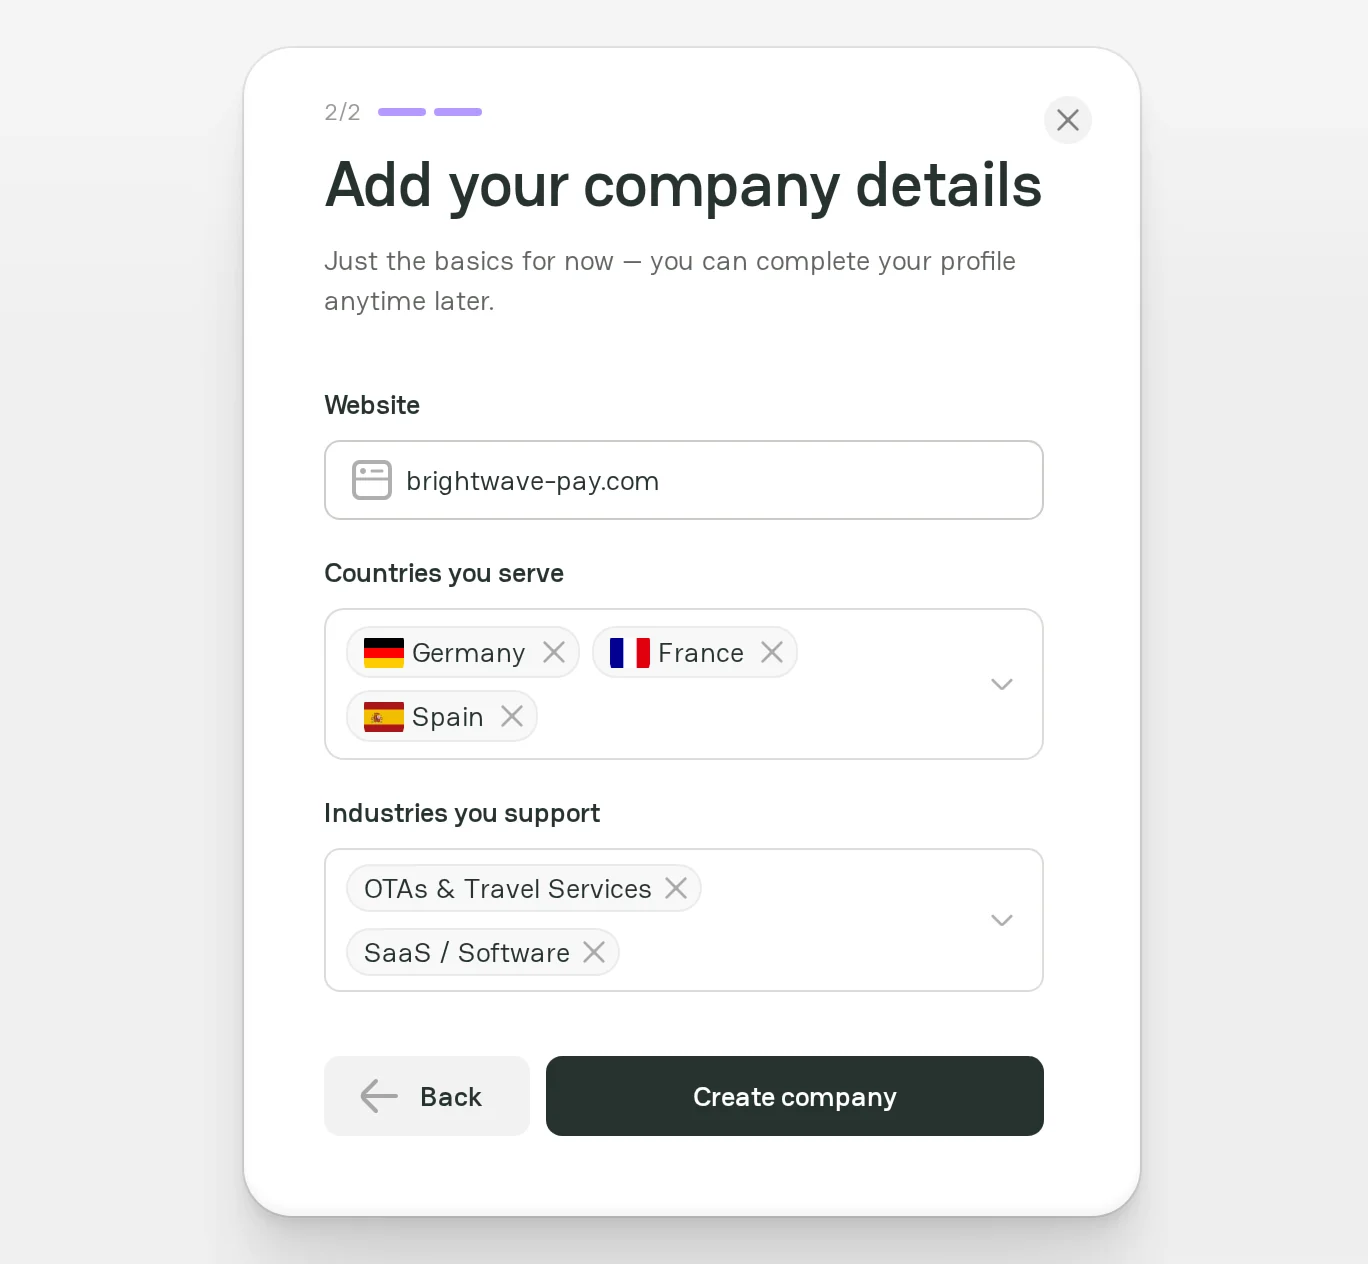
Enter the provider details
The provider form has these fields:
| Field | Required | What to enter |
|---|---|---|
| Website | Yes | The website address of your company, for example brightwave-pay.com |
| Countries you serve | No | The countries of the merchants that you accept. You can select several countries. |
| Industries you support | No | The industries of the merchants that you work with. You can select several industries. |
You can also fill in the optional fields later in Company Dashboard.
- Fill in the fields.
- Click Create company.
Check the provider result
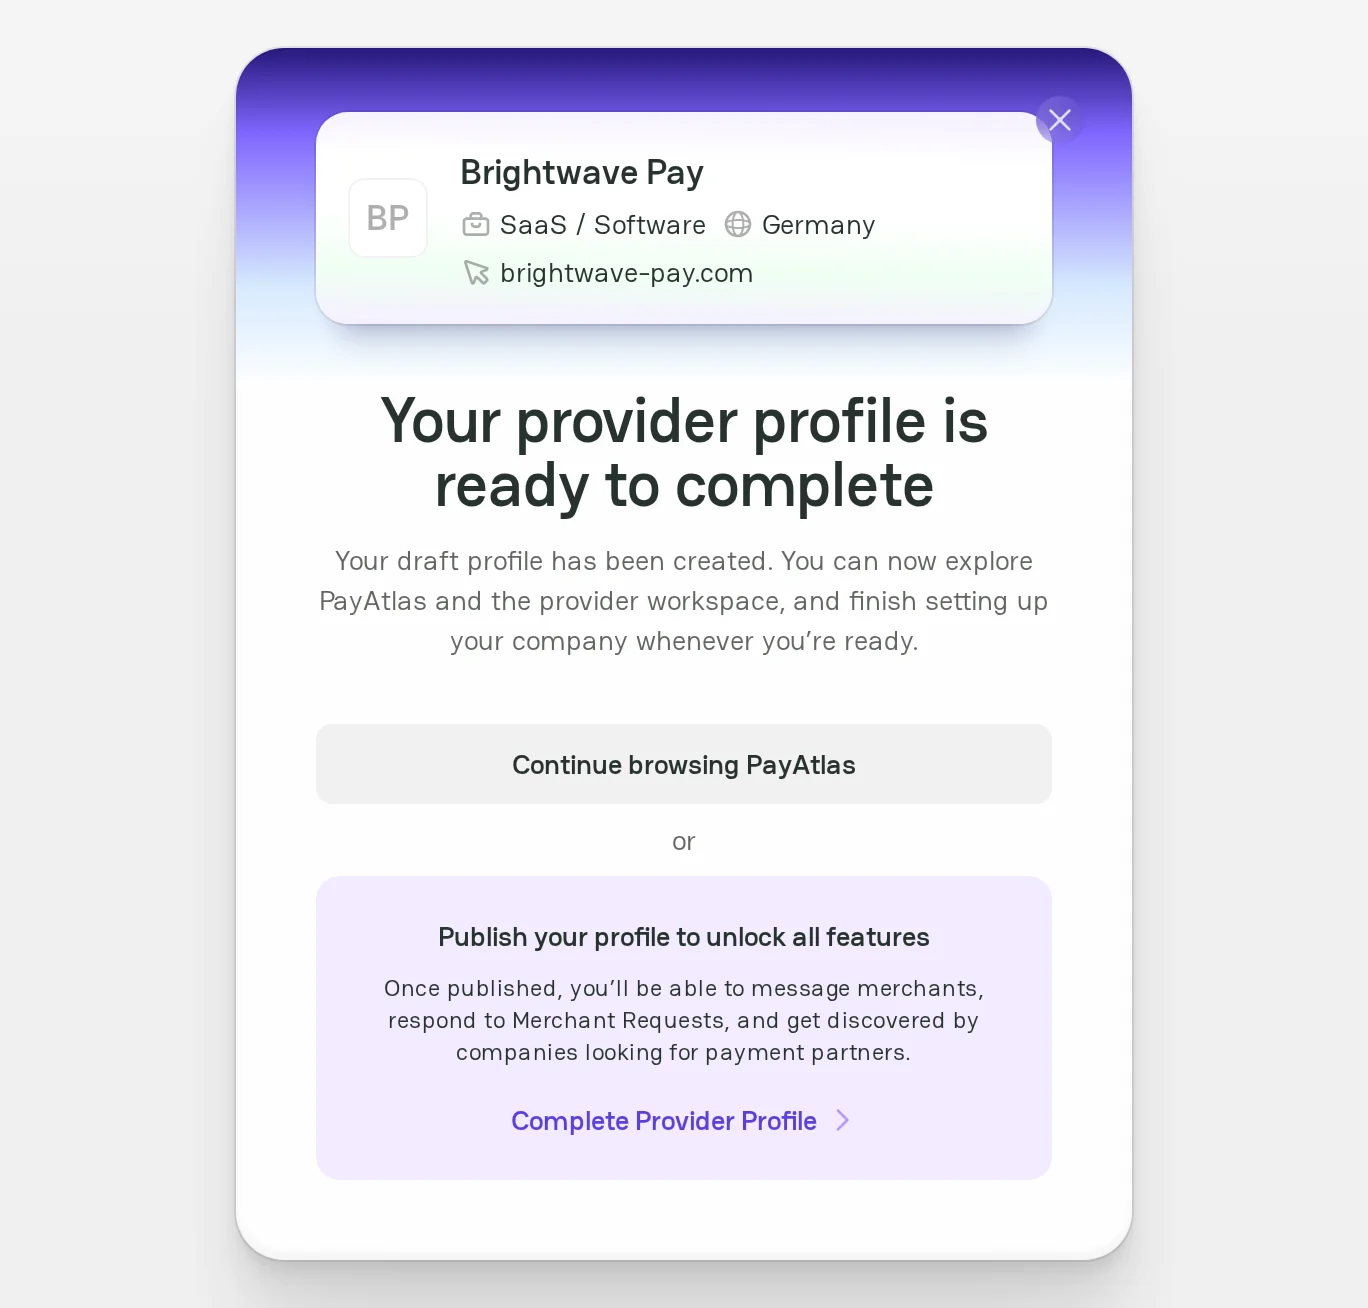
After PayAtlas creates the company, the Your provider profile is ready to complete window opens. The provider profile is a draft until you publish it.
- To fill in the profile now, click Complete Provider Profile.
- To fill in the profile later, click Continue browsing PayAtlas.
Publish the provider profile
A published provider profile can message merchants, respond to Merchant Requests, and appear for companies that look for payment partners.
Before you publish, fill in these items in Company Dashboard:
| Section | Required items |
|---|---|
| About | Profile icon, full logo, and description |
| Focus areas | Services, industries, and regions |
| Supported features | Payment methods, transaction currencies, and settlement currencies |
For the full list, see Launch checklist. After you publish the profile, the PayAtlas team can check it. For more information, see Follow Moderation process.
Website already in use
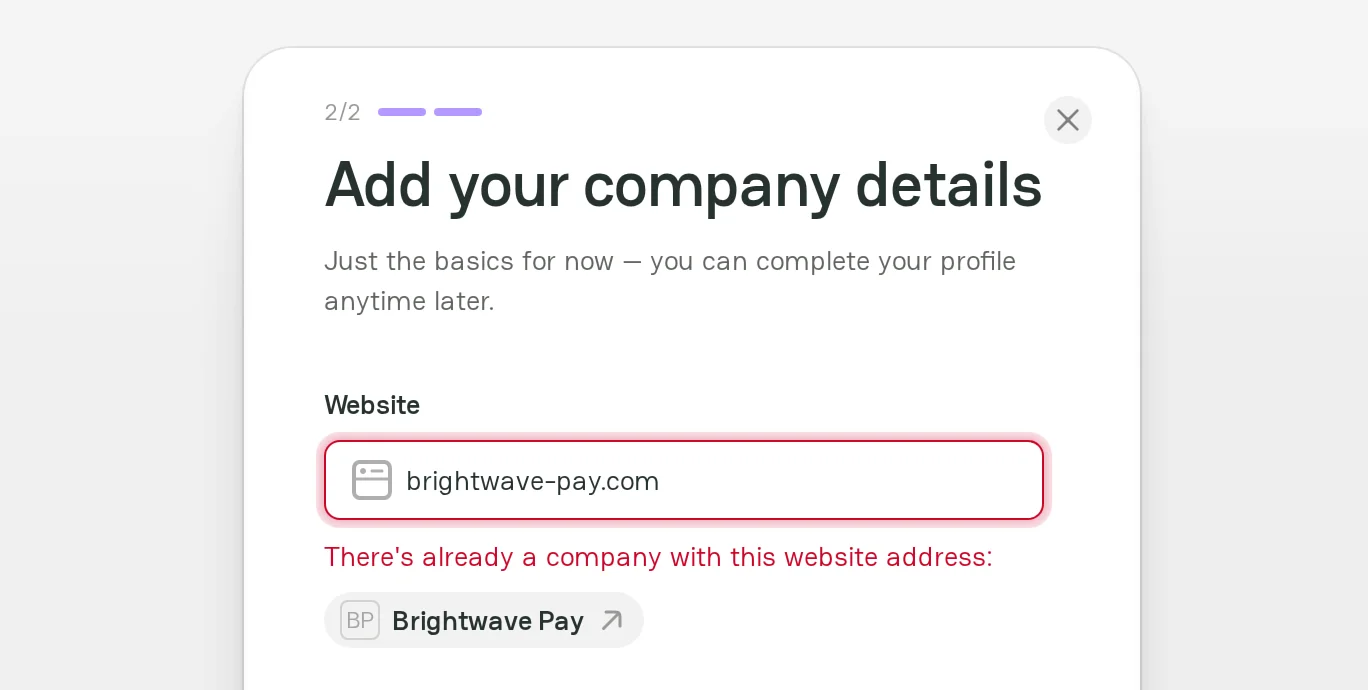
If another company uses the website, PayAtlas shows the message There's already a company with this website address and a link to that company. You cannot create a second company with the same website.
To join the existing company, ask its owner to invite you as a team member. If you cannot contact the owner, open the Company Profile from the message and click Claim profile to write to the PayAtlas support team. For more information, see Claim Company Profile.
Company name and profile URL
PayAtlas creates two values from the domain name of the website:
- The company name. PayAtlas turns each hyphen into a space:
brightwave-pay.comgives Brightwave Pay, andbrightwavepay.comgives Brightwavepay. - The profile URL (slug), for example
brightwave-pay. If another company already has this slug, PayAtlas adds a number to it.
You can change the name and the slug later in Company Dashboard.
Next steps
- To open and manage your company, see Company Dashboard.
- To fill in the public page of the company, see Manage provider profile or Manage merchant profile.
- To invite team members, see Review Administration settings.



Comments