

Review Administration settings
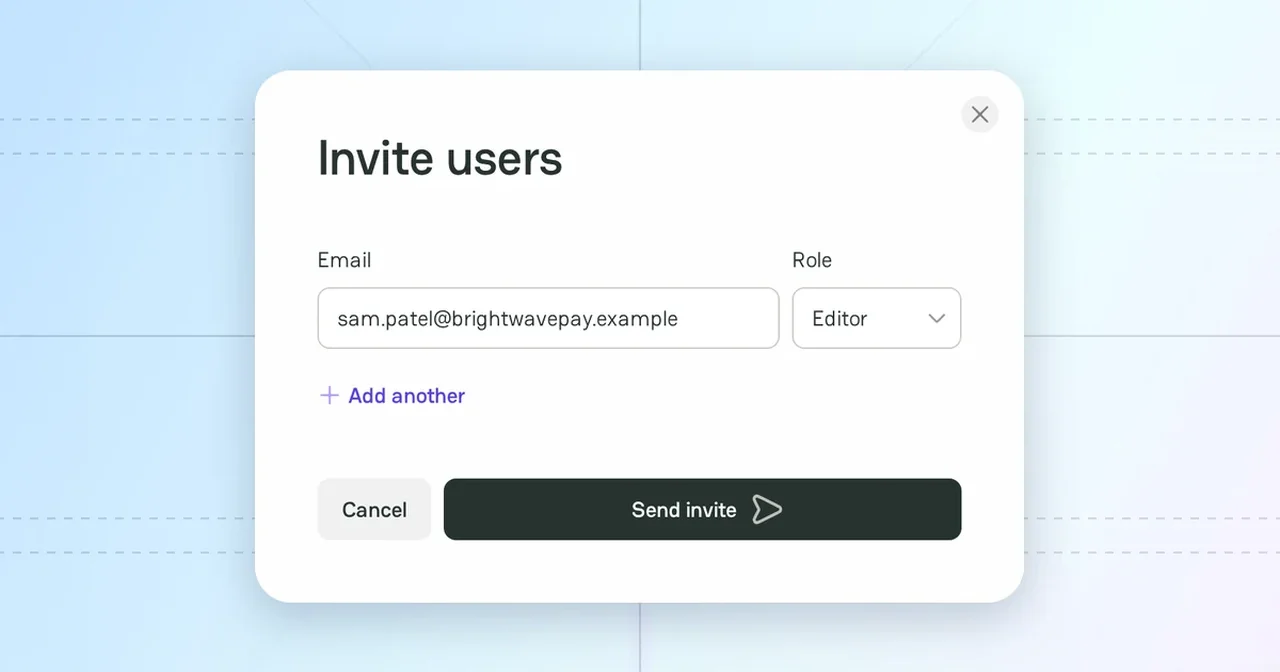
The Administration group of Company Dashboard has three sections: Members, Verification, and Account. In these sections, you manage the team of the company, its verification, and its address on PayAtlas.
Make sure that you are an Owner or an Admin of the company. Only these roles can open the Administration sections.
To open a section, open Company Dashboard, and then click the section in the Administration group of the sidebar. For more information, see Company Dashboard.
Roles
Each member of a company has one role:
| Role | What the member can do |
|---|---|
| Owner | Everything that an Admin can do. Transfer the ownership to another member. A company has one Owner. |
| Admin | Edit the profile and publish the changes. Invite, enable, disable, and delete members, and change their roles. Change the company slug and delete the company. |
| Editor | Edit the profile. An Editor cannot publish the changes or open the Administration sections. |
The Invite users and Edit user role windows call the Admin role Administrator. Nobody can change the role of the Owner, disable the Owner, or delete the Owner. Only a transfer of the ownership changes the Owner.
Each active member can also post articles, events, and jobs on behalf of the company.
Members
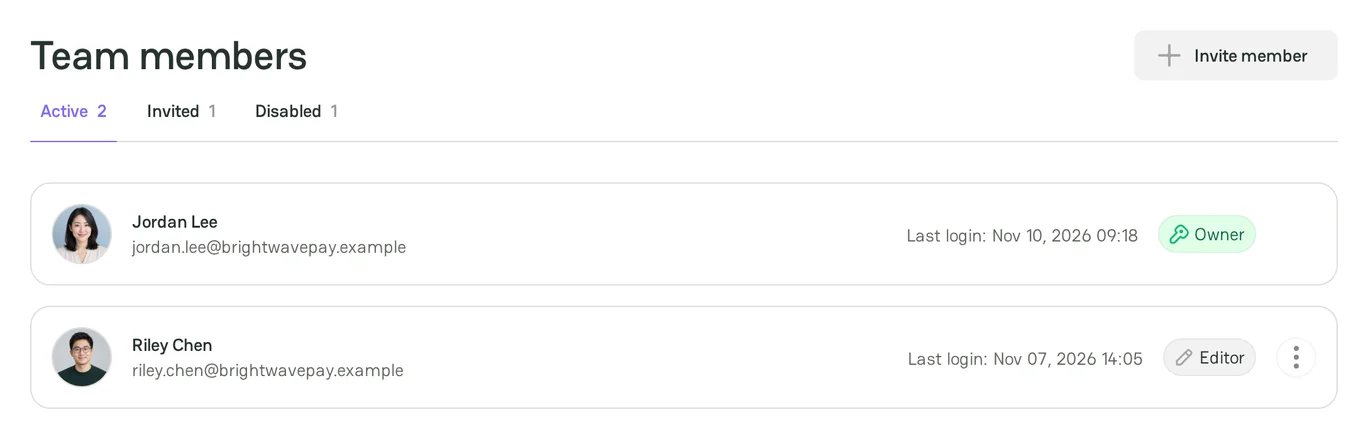
The Team members page has the Active, Invited, and Disabled tabs. A tab shows only when it has members.
Invite members
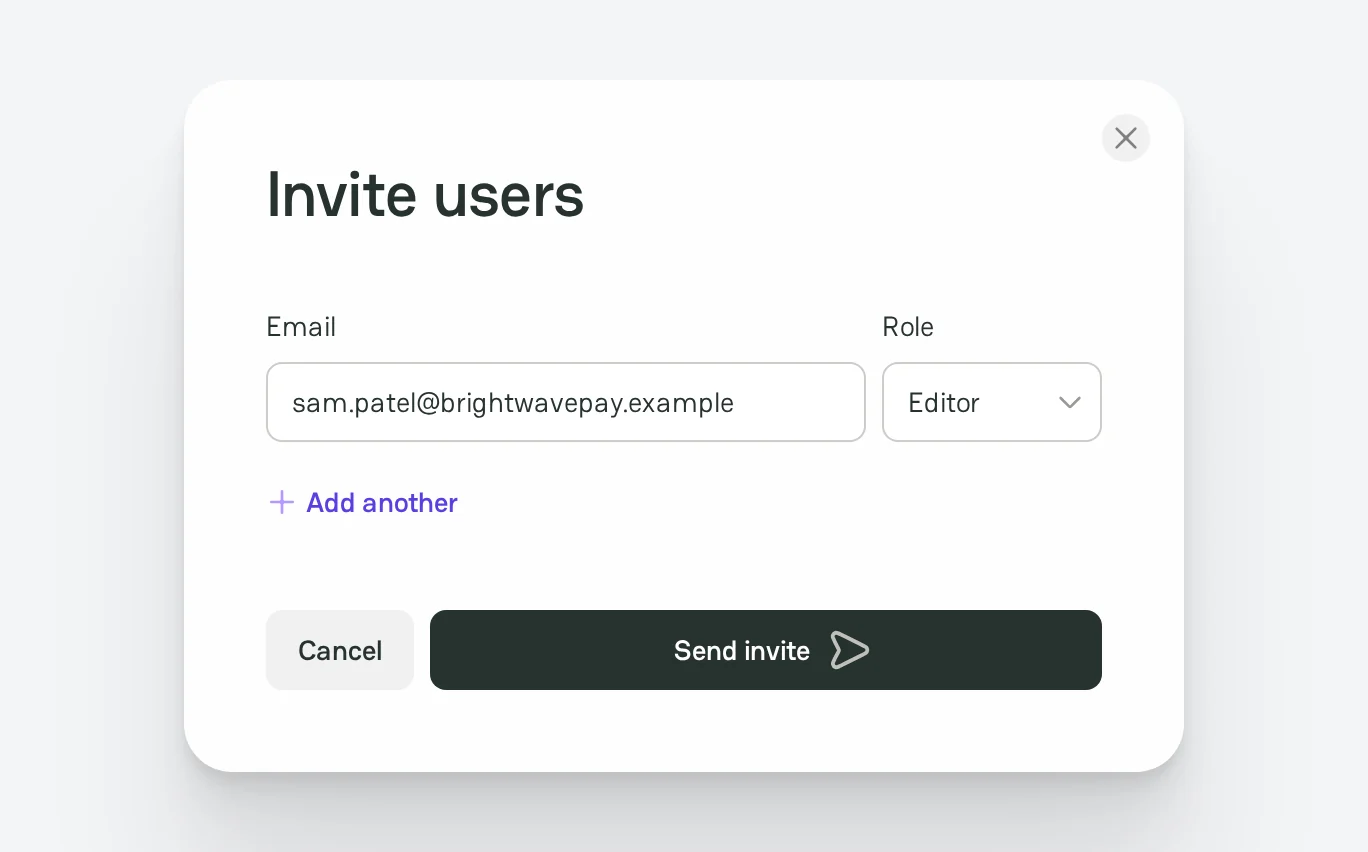
- Click Invite member.
- In the Invite users window, enter the email address of the person.
- Select the role: Administrator or Editor. The default role is Editor.
- To invite more people, click Add another, and then repeat steps 2 and 3.
- Click Send invite.
PayAtlas sends an email with the Accept invitation button. The invitation is valid for 3 hours. The person accepts it with an account that uses the invited email address. After that, the member moves to the Active tab.
Pay attention! A company can have up to 10 pending invitations at a time.
Manage the invitations
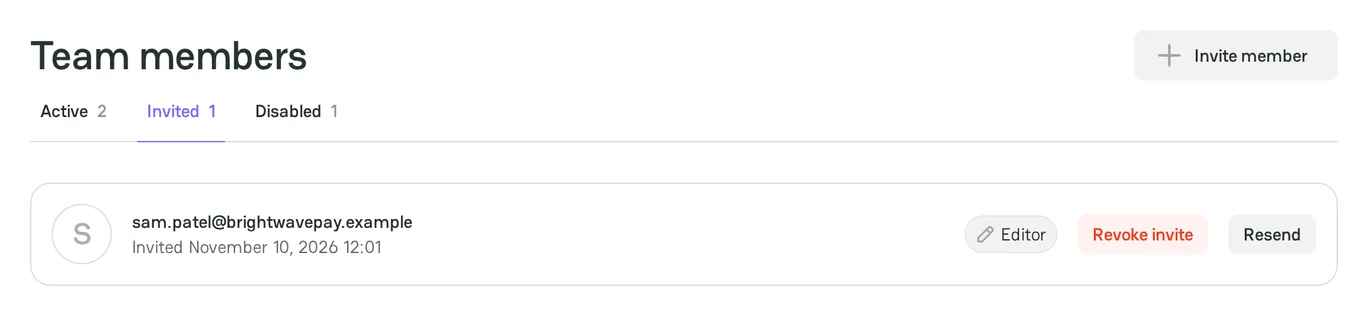
The Invited tab shows the invitations that are not accepted yet.
- To send the invitation email again, for example after the invitation expired, click Resend.
- To cancel an invitation, click Revoke invite.
Change the role of a member
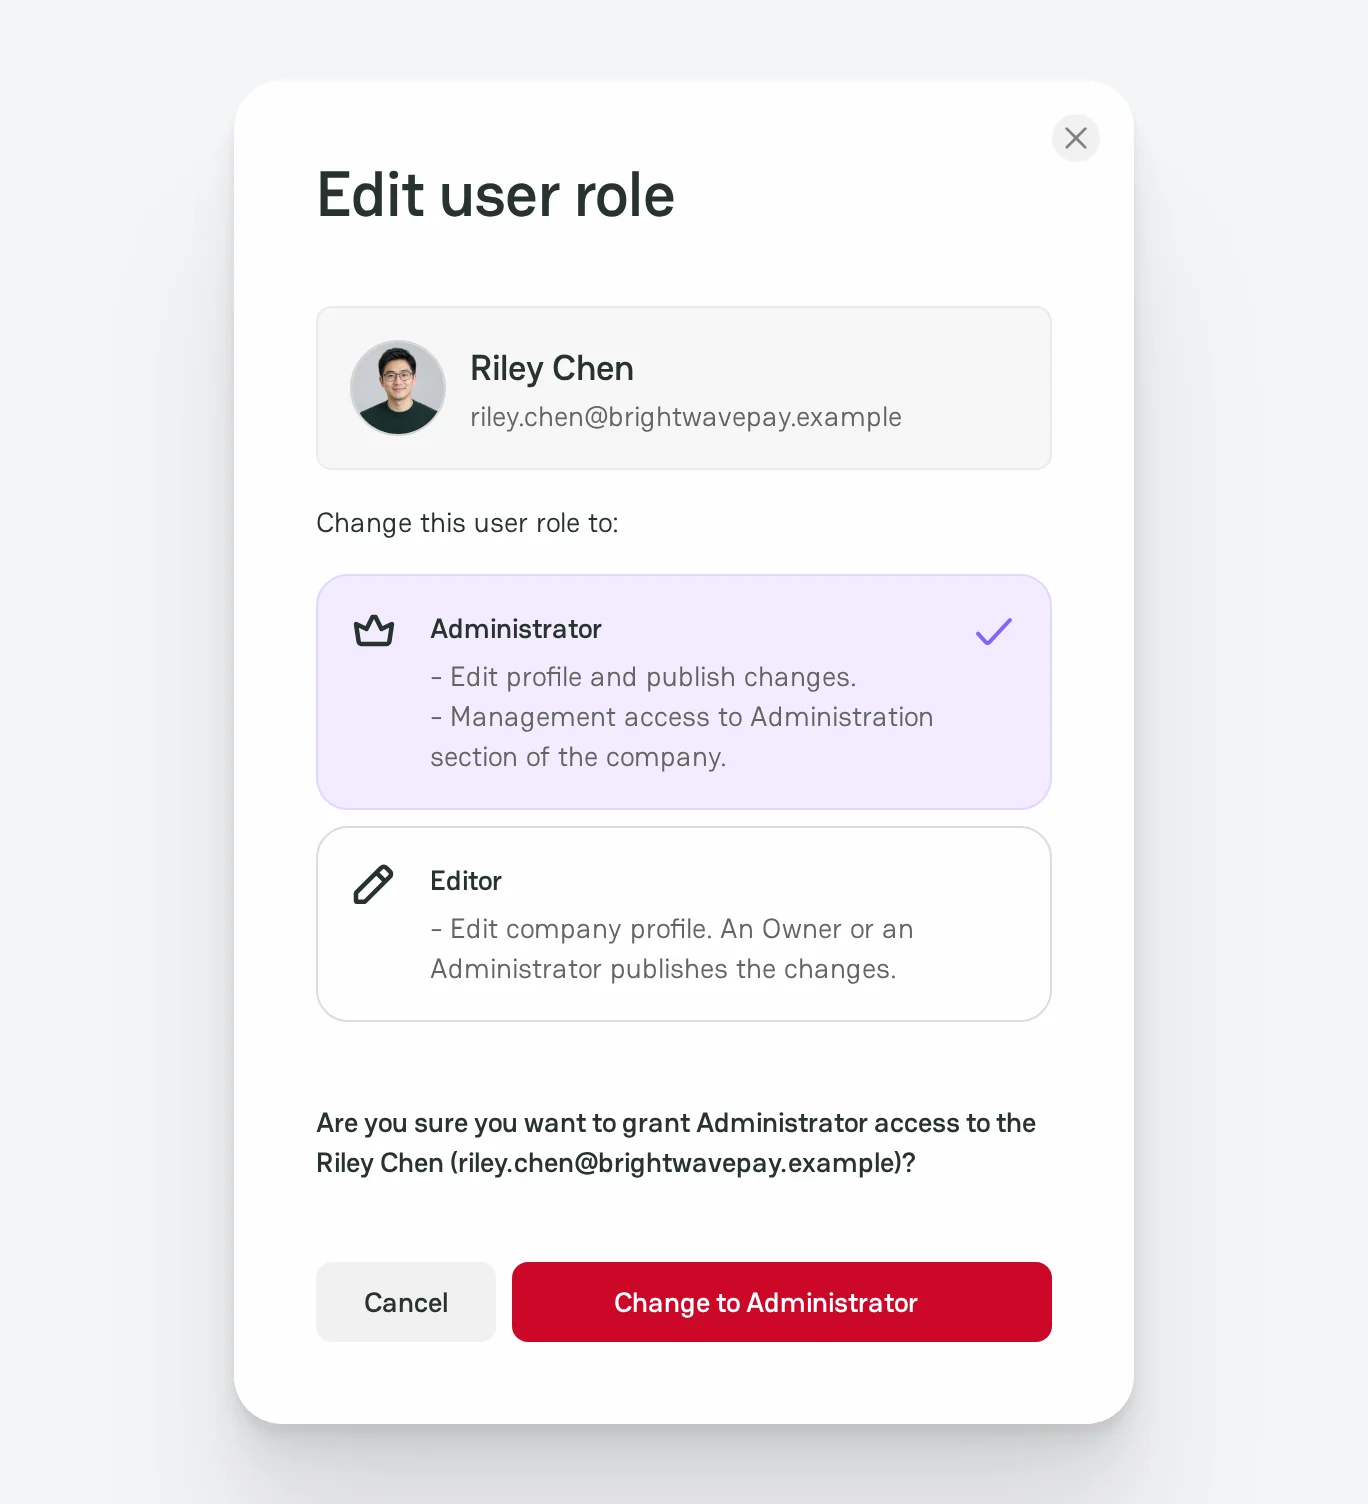
- On the Active tab, click the three-dot menu of the member, and then click Edit role.
- Select Administrator or Editor.
- Click Change to Administrator or Change to Editor.
Transfer the ownership
Only the Owner can transfer the ownership.
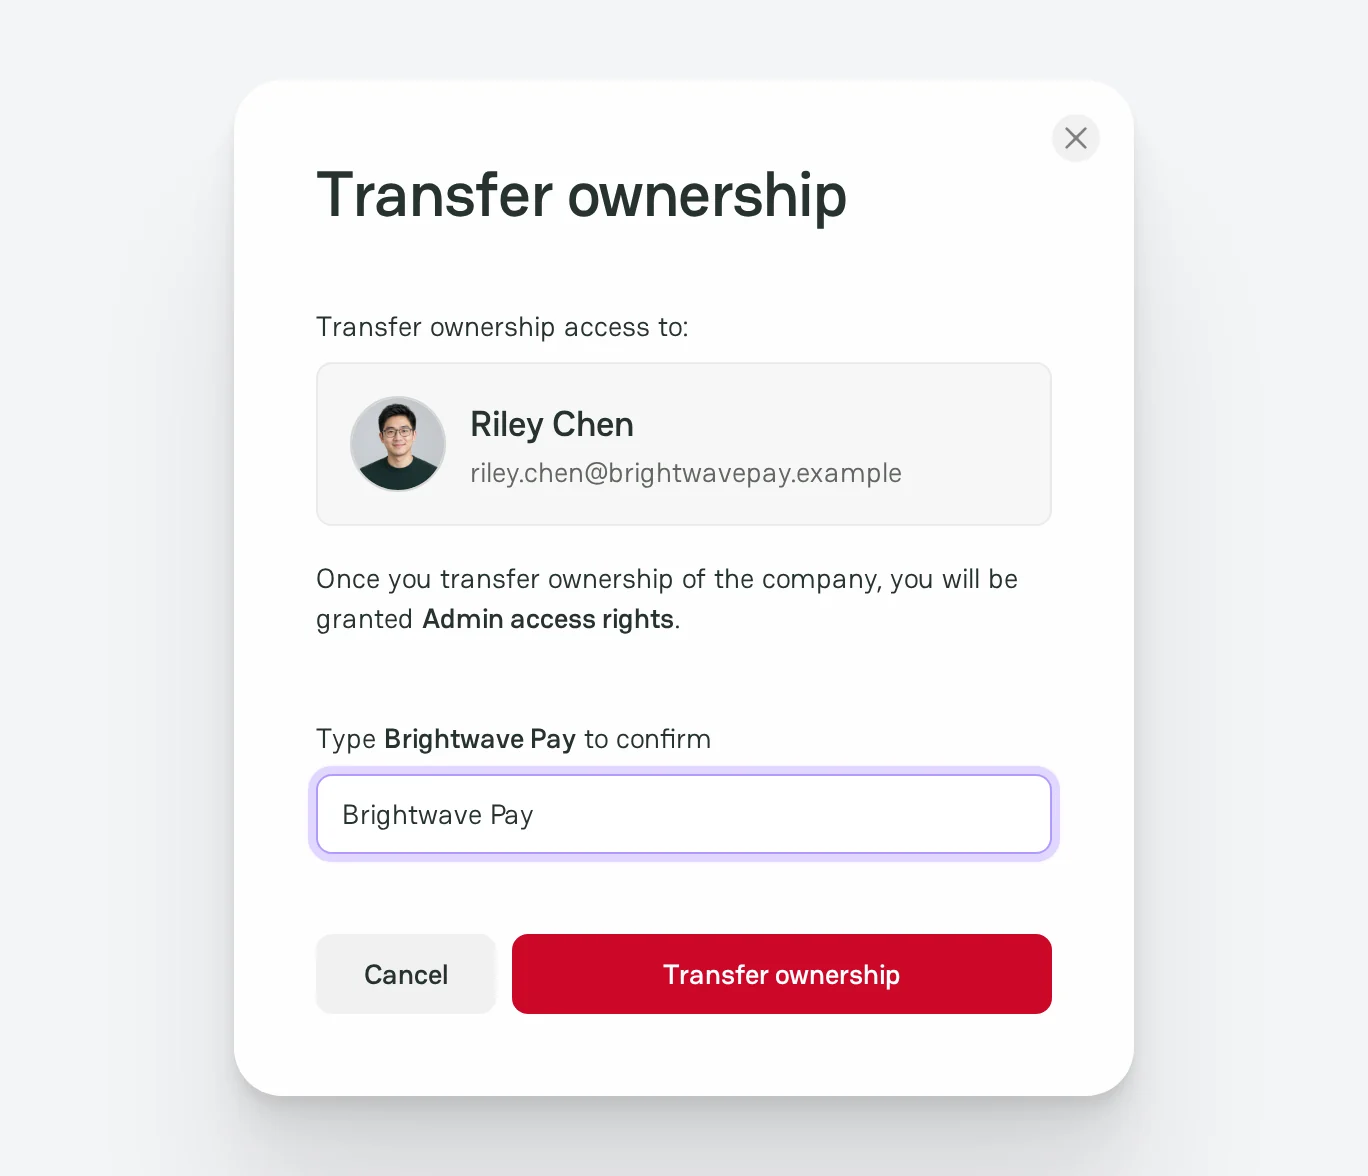
- On the Active tab, click the three-dot menu of the member, and then click Transfer ownership.
- Type the name of the company to confirm the transfer.
- Click Transfer ownership.
The member becomes the Owner of the company, and you become an Admin.
Pay attention! You cannot get the ownership back on your own. Only the new Owner can transfer it again.
Disable, enable, or delete a member
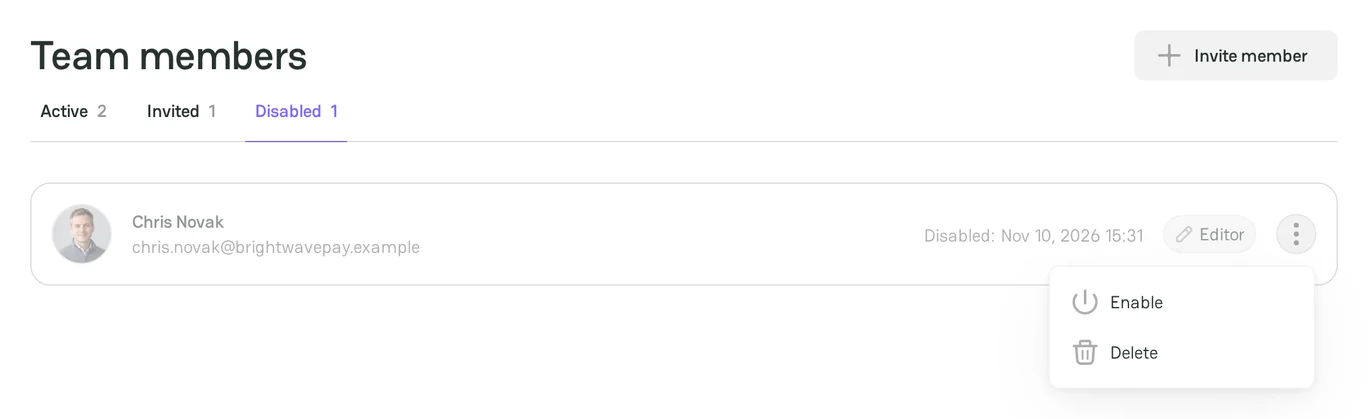
- To disable a member, click the three-dot menu of the member on the Active tab, and then click Disable. The member loses access to the company and moves to the Disabled tab.
- To enable a member, click the three-dot menu of the member on the Disabled tab, and then click Enable.
- To delete a member, click the three-dot menu of the member on the Disabled tab, and then click Delete. The person leaves the company. To add the person again, send a new invitation.
You cannot disable yourself.
Verification
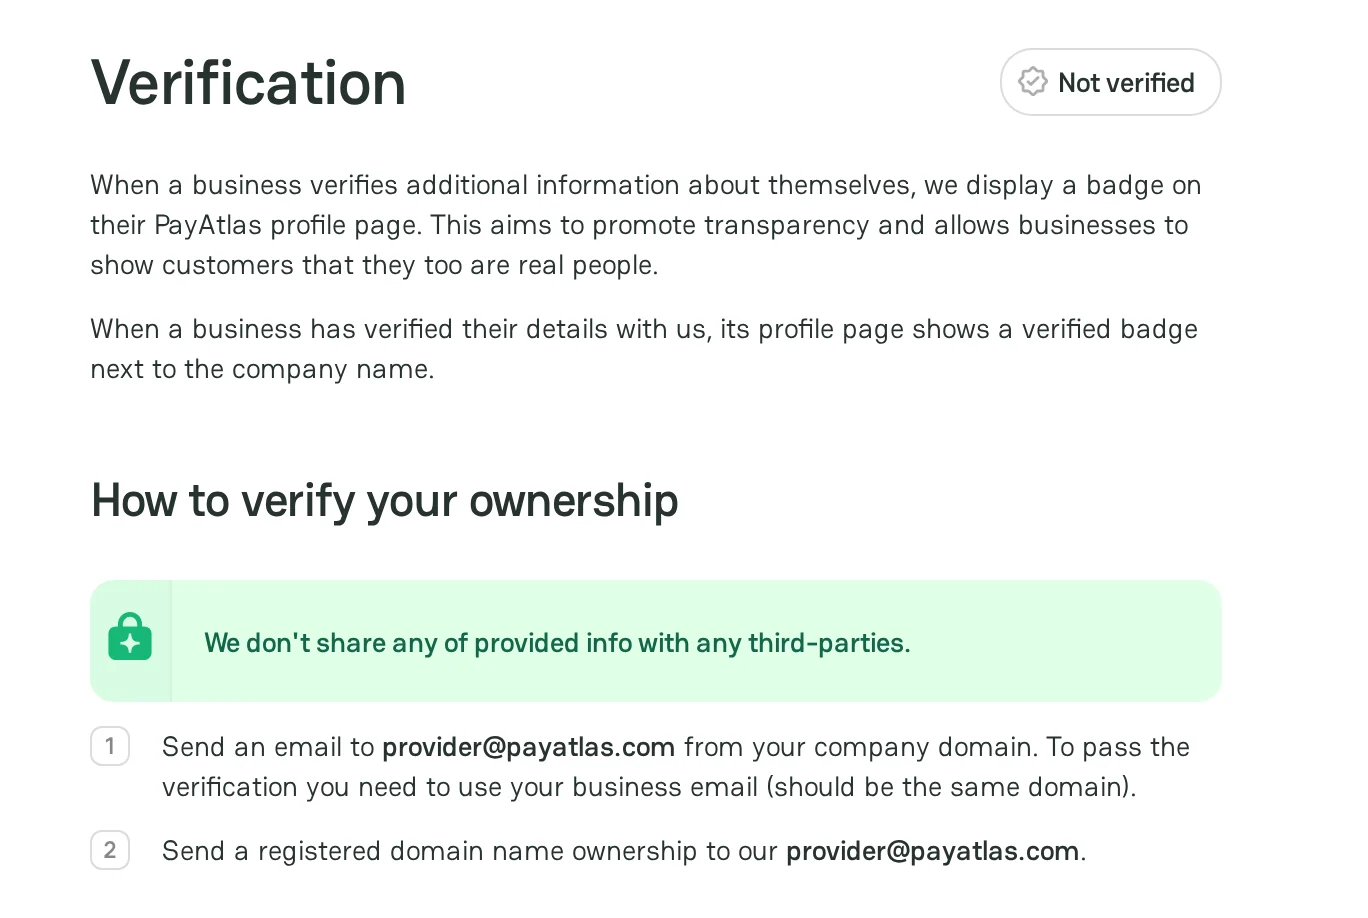
A verified company has a badge next to its name on the Company Profile. The badge shows clients and partners that the business is real. The Verification section shows the current status: Verified or Not verified.
To verify the company:
- Open the Verification section.
- From an email address on the domain of the company, send an email to
provider@payatlas.com. - In the email, attach a proof that the company owns the domain of its website.
The PayAtlas team checks the proof and changes the status to Verified. PayAtlas does not share this information with third parties.
Account
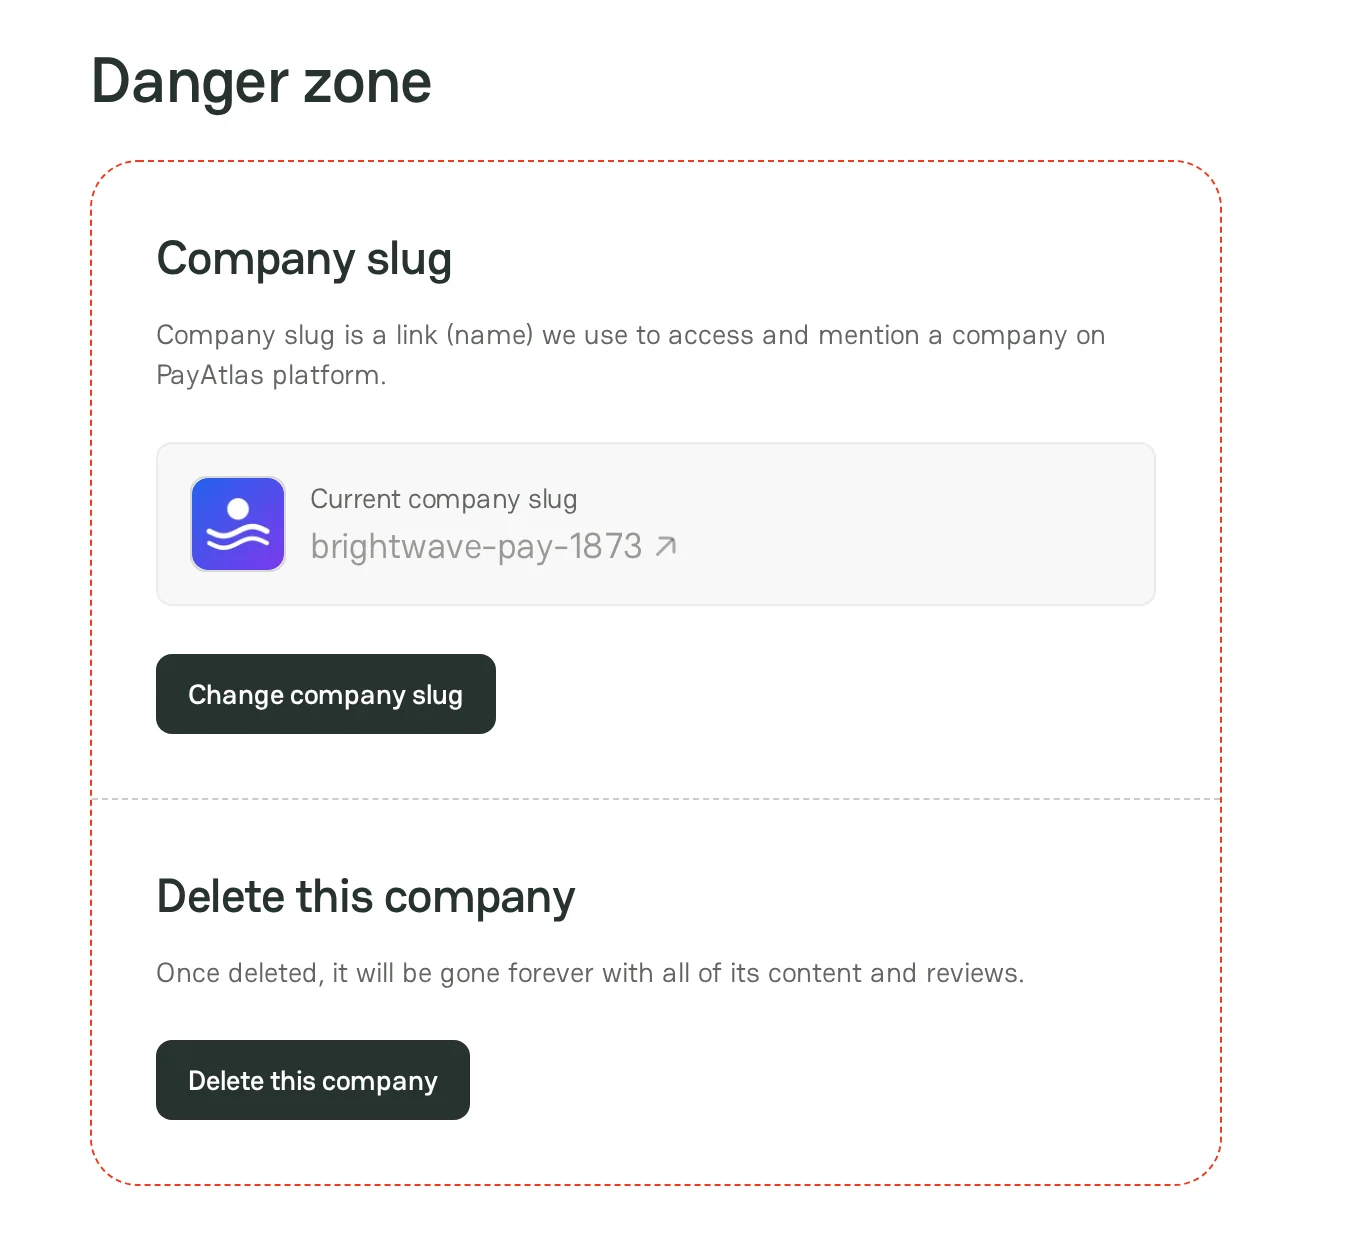
The Account section has the Danger zone with the company slug and the deletion of the company.
Change the company slug
The company slug is a part of the URL of the Company Profile, for example https://payatlas.com/company/{slug}-{id}.
- Click Change company slug.
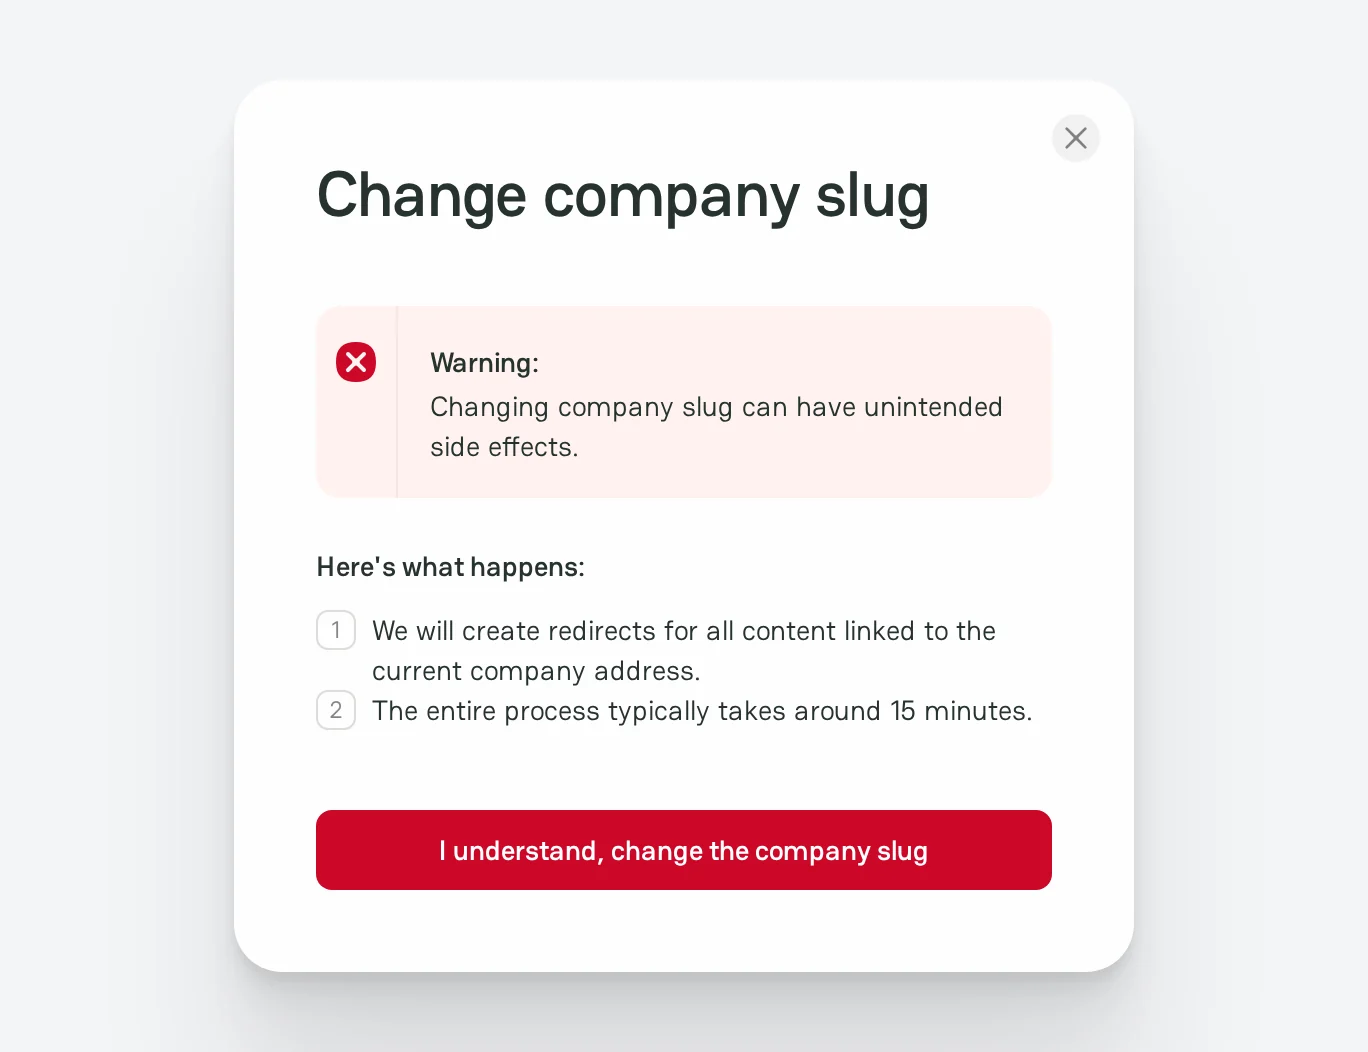
- Read the warning, and then click I understand, change the company slug.
- Enter the slug in the New company slug and Confirm new slug fields.
- Click Change slug.
PayAtlas redirects the links to the old address to the new one. The change takes about 15 minutes. If another company already has the slug, choose another one.
Delete the company
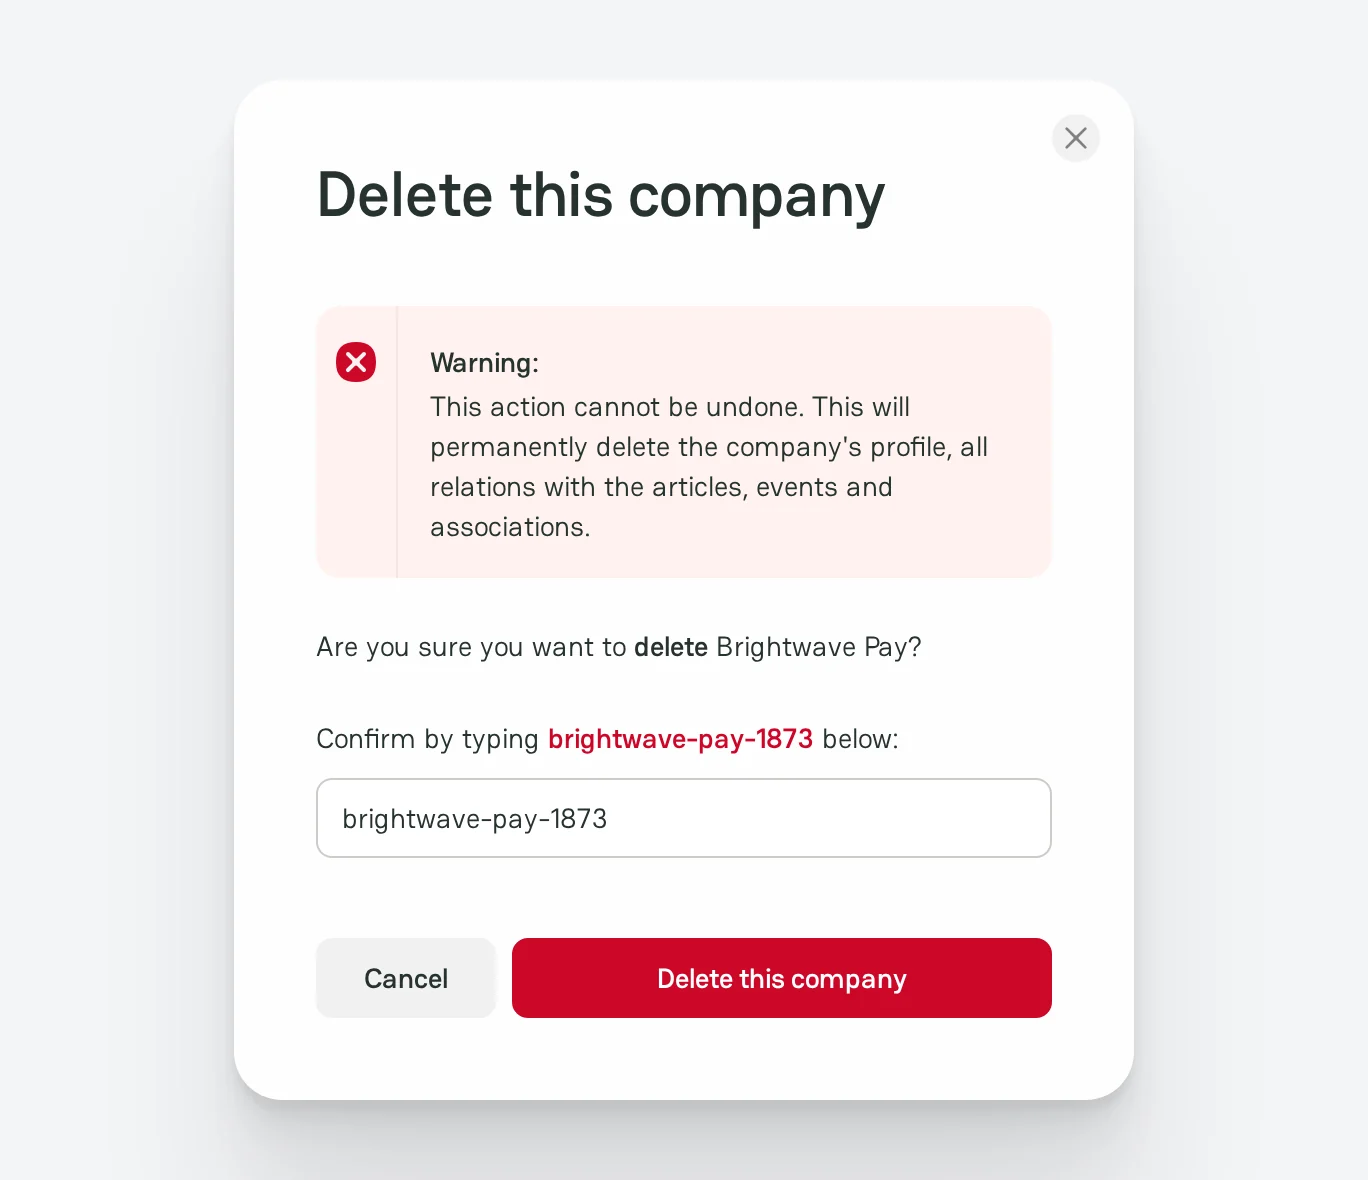
- Click Delete this company.
- Type the slug and the ID of the company that the window shows, for example
brightwave-pay-1873. - Click Delete this company.
Pay attention! You cannot undo the deletion. The company loses its profile, its content, its reviews, and its relations with articles, events, and associations.
To hide a company and keep its data, move it to the archive instead. For more information, see Company Dashboard.
Related articles
- To open the sections of a company, see Company Dashboard.
- To publish the profile, see Follow Moderation process.



Comments