Create Event
Two ways to initiate creating an Event
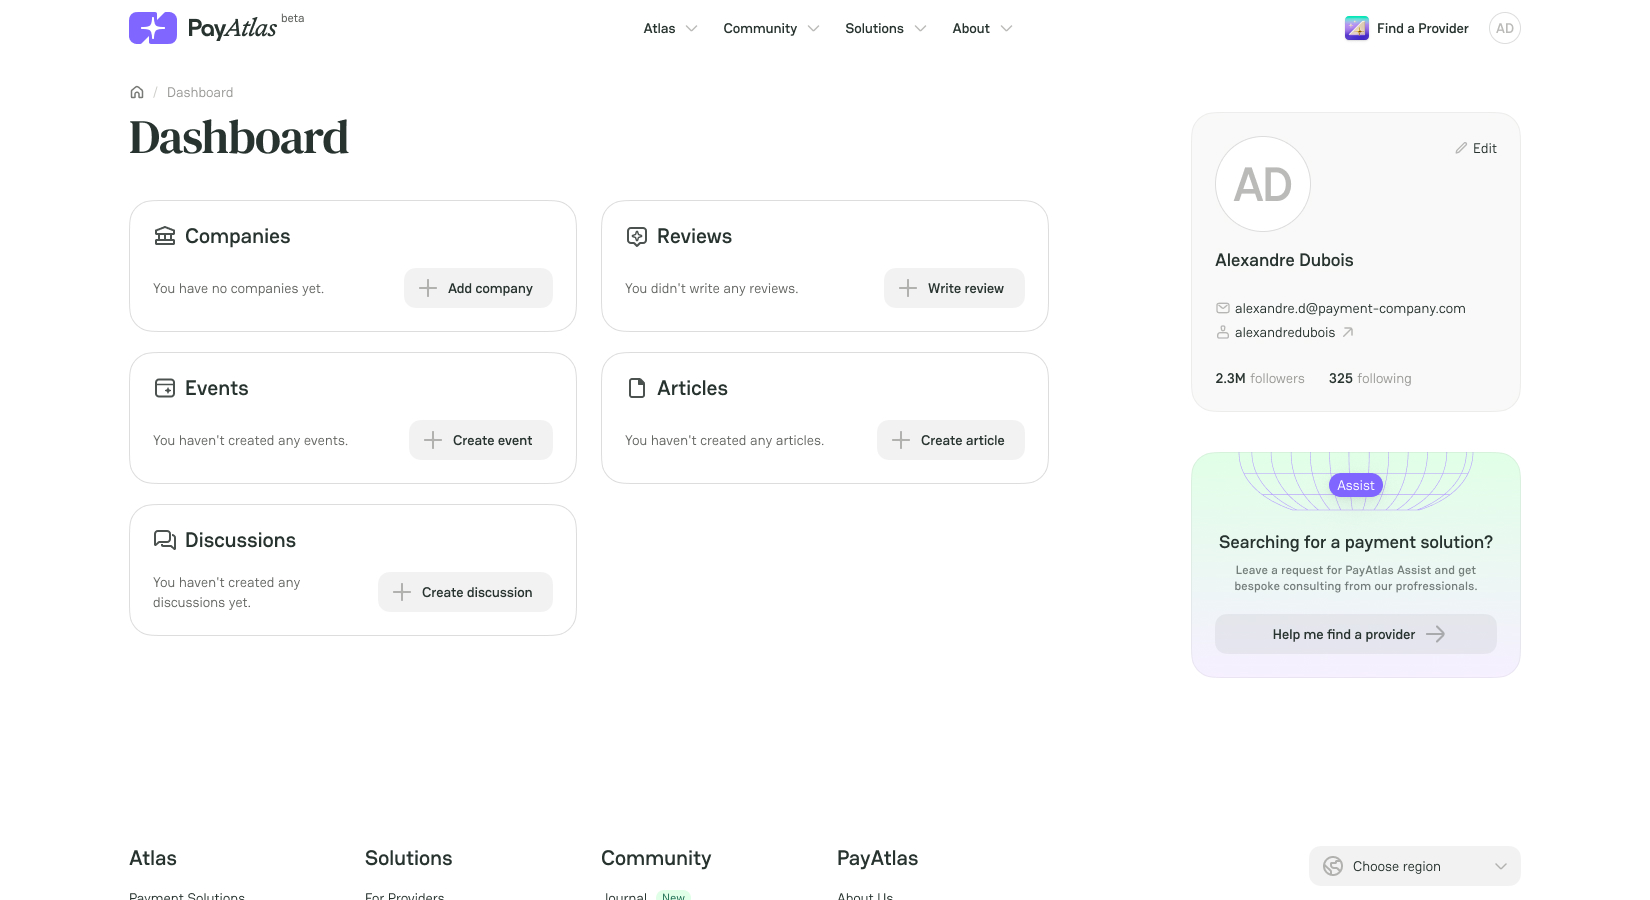
1. My Dashboard > My Events
-
Place the cursor on the User icon in the top right corner of the main page.
-
Click My Dashboard. The system redirects you to the respective page.
-
If you haven’t created any Events before, click Create Event right on the Dashboard.
-
If you have already created Events, click the Events entity itself, and the system should redirect you to the My Events overview.
-
Click Create in the top right corner of the My Events page.
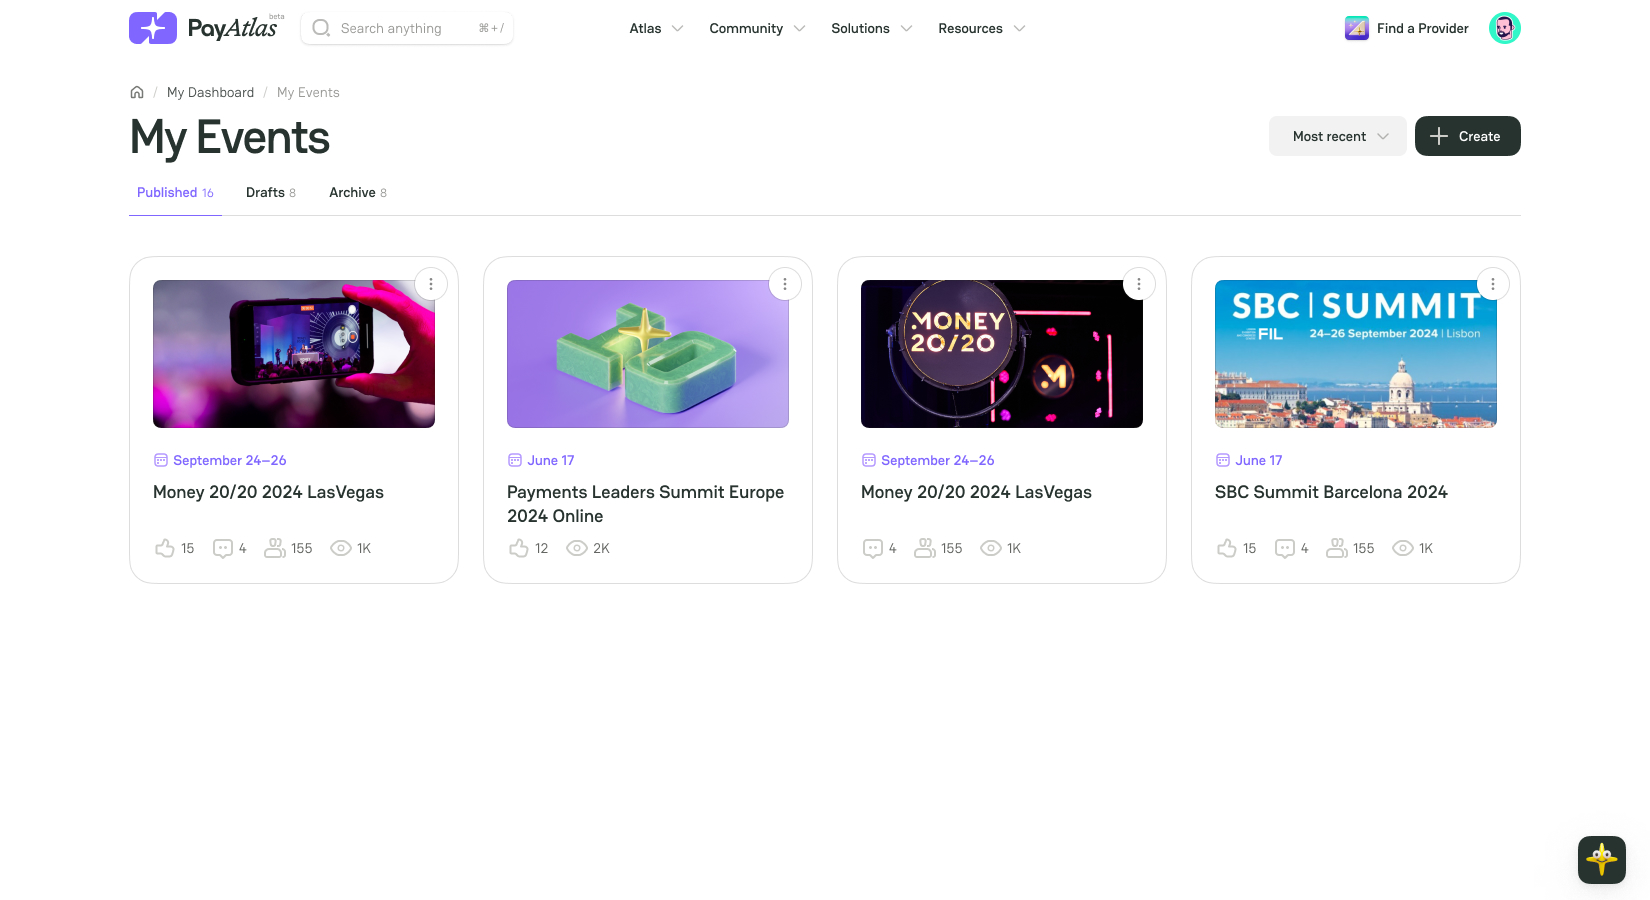
- Then, the system initiates opening the Create Event form to fill in.
2. Community > Events
-
Navigate to the top bar menu and place the cursor on the Community tab.
-
Click the Events option in the hover dropdown menu. The system redirects you to the respective page.
-
Click Create event under the current Events carousel.
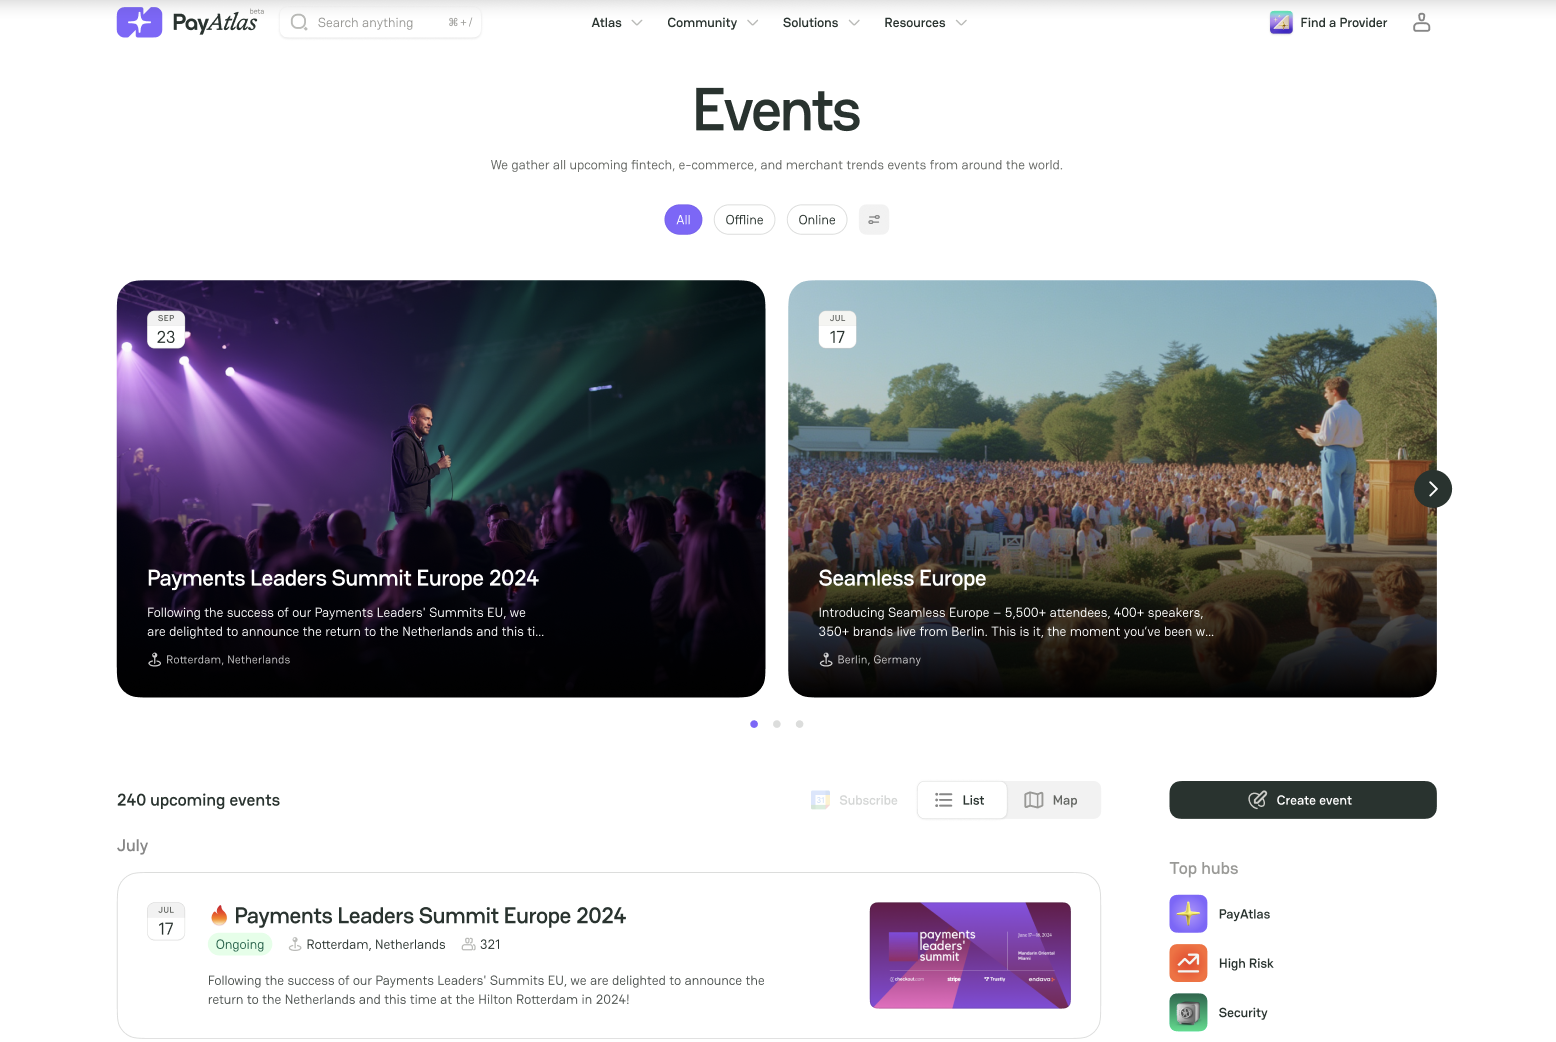
- Then, the system initiates opening the Create Event form to fill in.
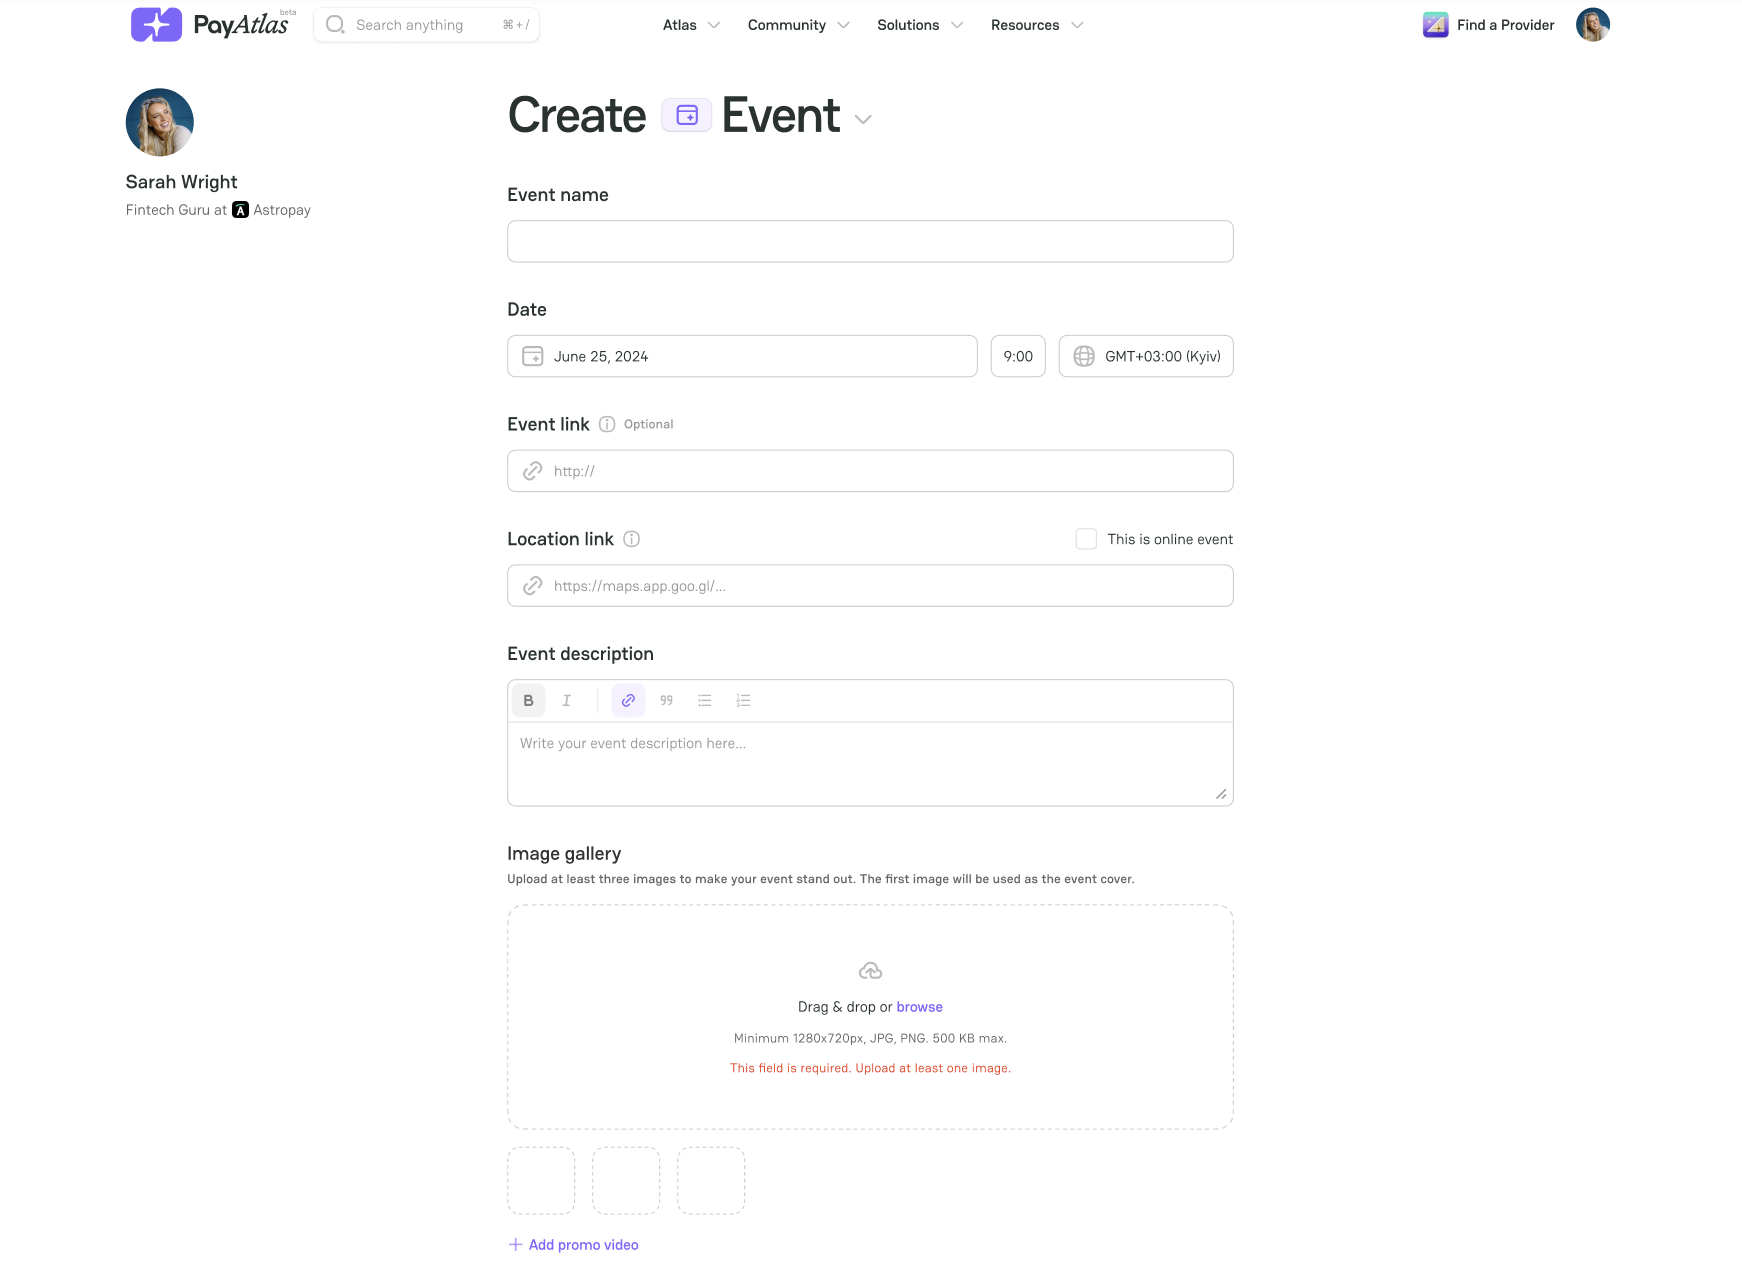
Fill in the Create Event form
-
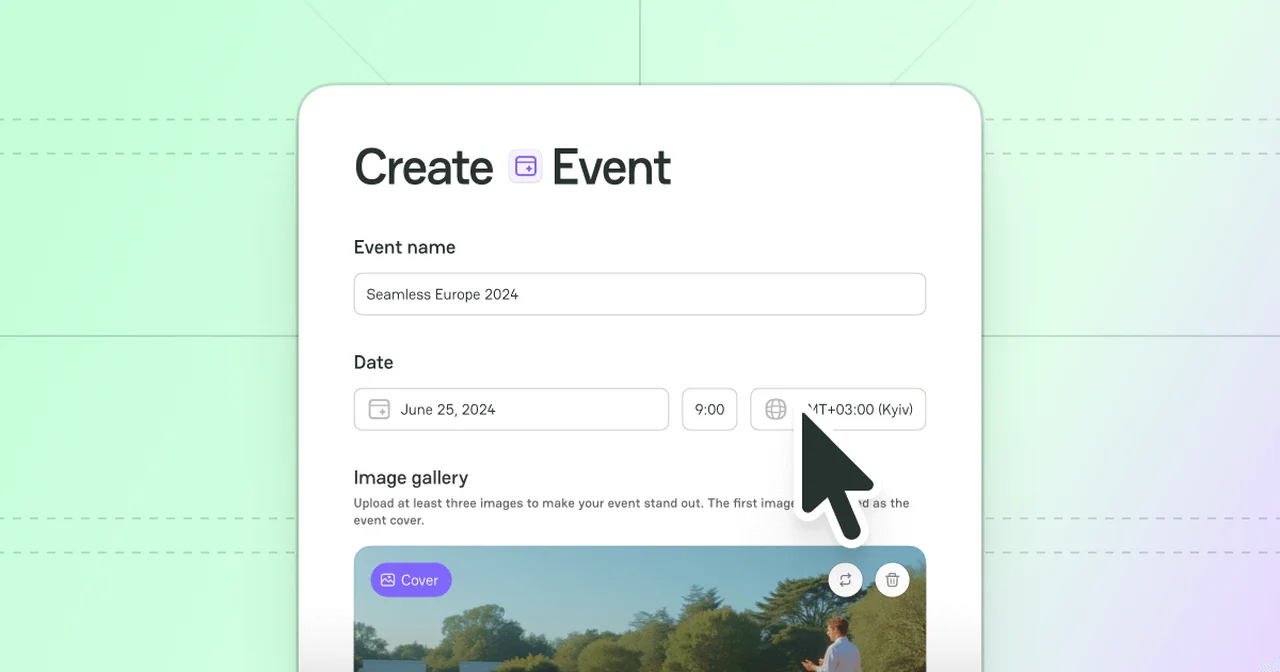
Insert an Event name into the respective text field.
-
Select a needed Date in the date picker.
-
Specify the Time when the Event will occur in the corresponding field. Add a relevant Time zone from a dropdown list.
-
Add an Event link and a Location link. If it is an online Event, mark a This is online event checkbox.
-
Fill in the Event description with your text. Use the editing options as needed:
-
Bold, Italic text formatting;
-
Link;
-
Quotation;
-
Numbered, Bulleted list.
- To add an Image gallery, drag and drop images to the corresponding field or click Browse. The uploaded items should be in JPG or PNG format, with a minimum resolution of 1280 x 720 pixels and a maximum file size of 500 KB.
The Image gallery field is required. You need to upload at least one image to create an Event.
- You can also add a Promo video by clicking it under the Image gallery and entering a link to your video.
-
To add Target industries, select the needed options in a respective combo box.
-
To add Tags, select the options in a corresponding combo box.
Tags are the specific labels that categorise the Events, combine them by topic, industry or region and place them in related hubs accordingly.
-
Select an event Organiser from the dropdown list, including the Companies you have access to. Leave the field empty if a third-party company issues an Event.
-
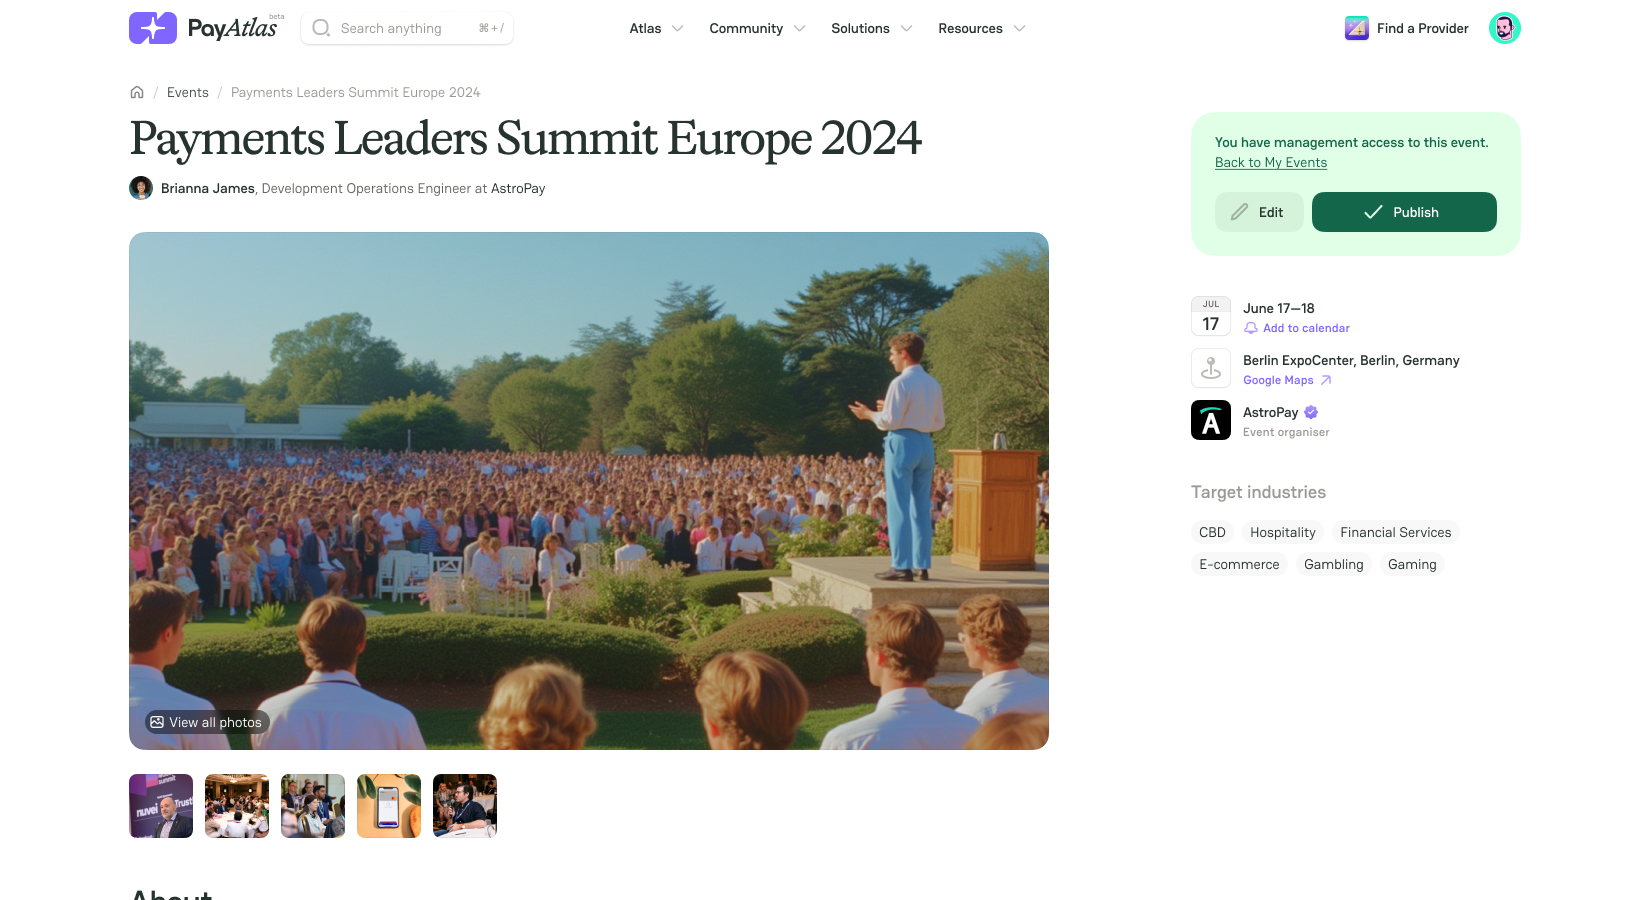
After you finish creating an Event, click Save and Preview Draft. After that, you can preview the live version of your Event.
-
If everything is as intended, click Publish.
-
If you need to make changes, click Edit. After editing the necessary details, click Save and Preview Draft.
-
After saving the revised version of your Event, click Publish.
Comments