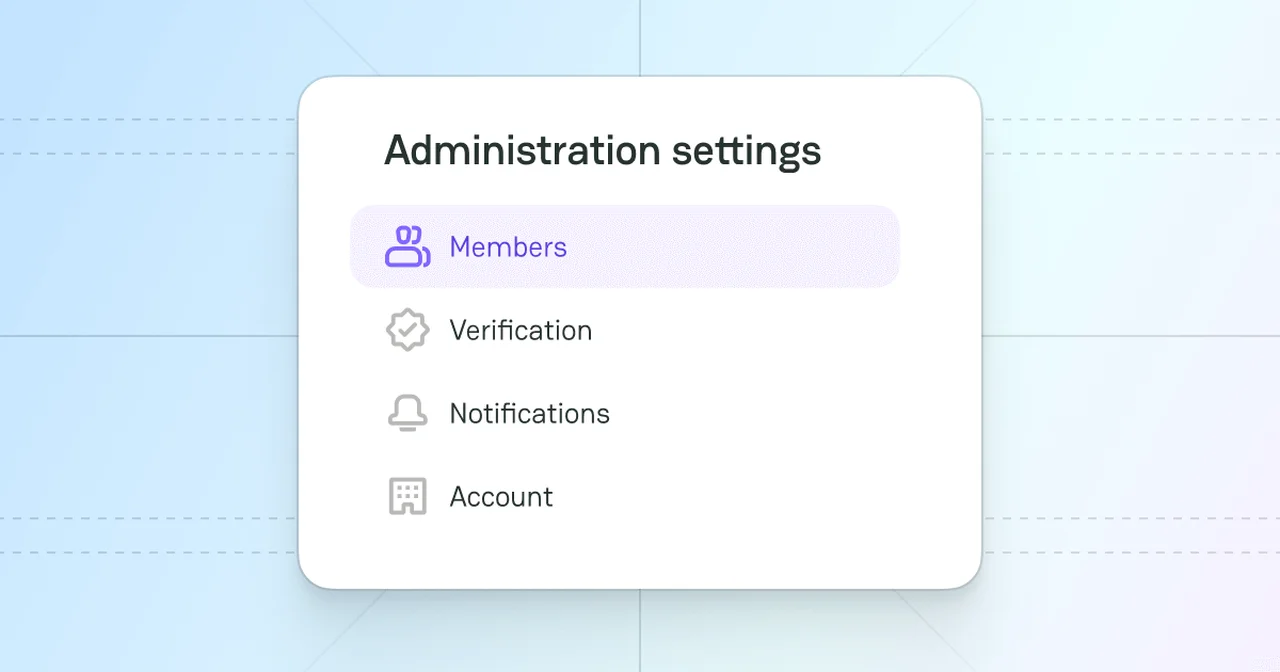
Review Administration settings
Company Administration settings comprise the ways in which you can manage your team Members, align with the Verification process, and Account possibilities. They enable smooth process coordination and allow you to fully reproduce the Company's potential.
Members
- Put the cursor on the User icon at the top right corner of the main page.
- Click My Companies, and the system redirects you to the My Companies page accordingly.
- Then, click the specific Company to get redirected to its Company Profile.
- Scroll to the Administration section, the Members tab.
Manage Members
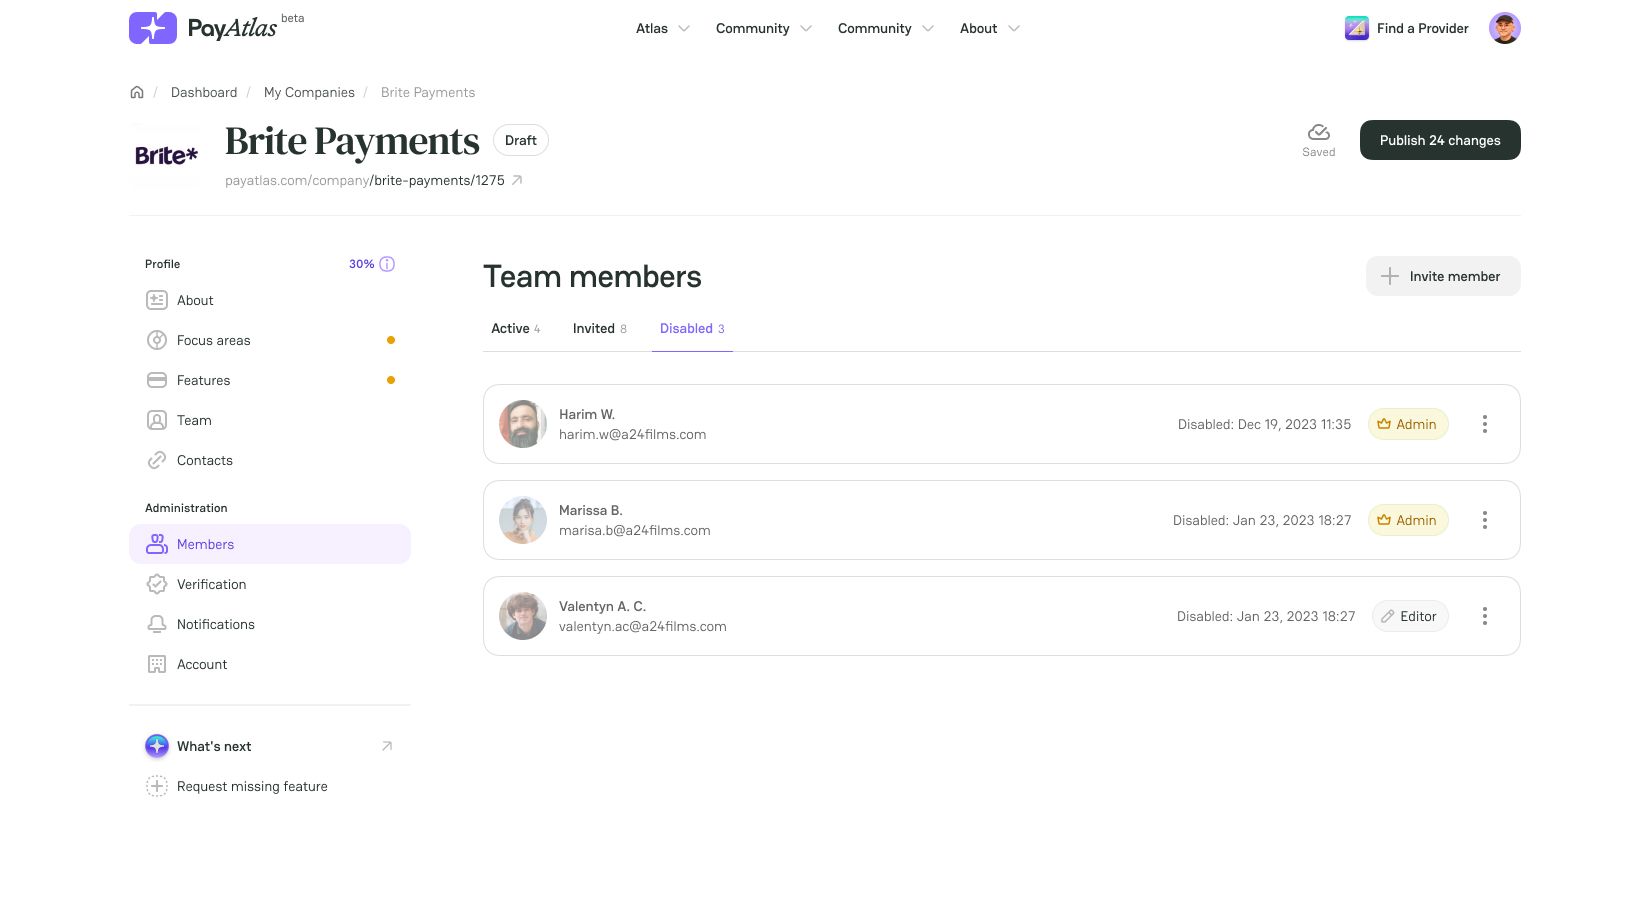
The Members are divided into three groups: Active, Invited, and Disabled.
Active:
- A Member becomes Active after they accept the invitation to join the organisation.
- You can update the permissions for a particular Active member, by clicking More options > Edit role.
- The system opens the Edit user role modal. Select the needed Role and apply changes.
| Role | Permissions |
|---|---|
| Owner | Access to all the entities and data within the organisation. ⇢ Full scope of permissions. ⇢ The right to transfer ownership to another user of the given organisation and become an Administrator. |
| Administrator | ⇢ All the permissions are included except for deleting entities. |
| Editor | ⇢ Limited scope of permissions with the ability to edit the Profile sections. |
- If you are an Organisation owner, click More options >Transfer ownership. It grants another user with your scope of permissions.
- The system opens a corresponding modal. Enter your Payment company for a confirmation.
- Click Ok, transfer this company.
After you transfer the ownership to another user, you lose the Owner permissions and become an Administrator.

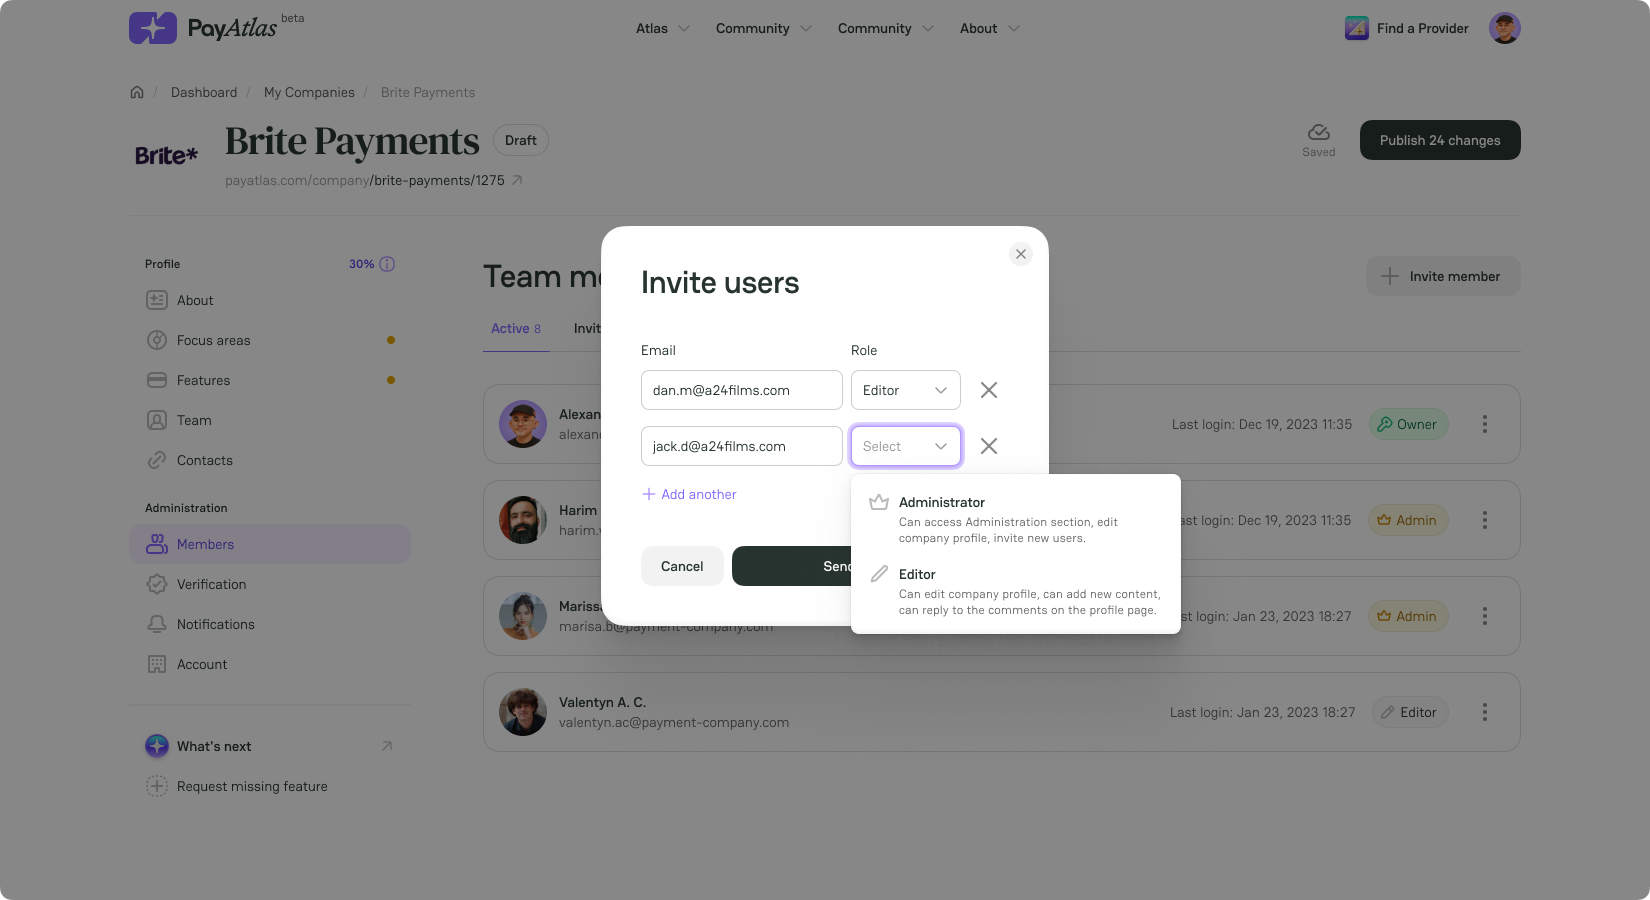
Invited:
- To send an Invite to join the organisation, click Invite member.
- The system opens the Invite users modal. Insert the Email and select Role from the dropdown list.
- To invite multiple team members, click Add another and repeat the flow. Click Send invite.
- To cancel the user invitation, click Revoke.
- If the invitation link has expired, click Resend. The user receives another letter with a relevant link.
Disabled:
- To disable the Member, go to the Active tab.
- Click More options > Disable.
- The Member stays visible in the Disabled tab.
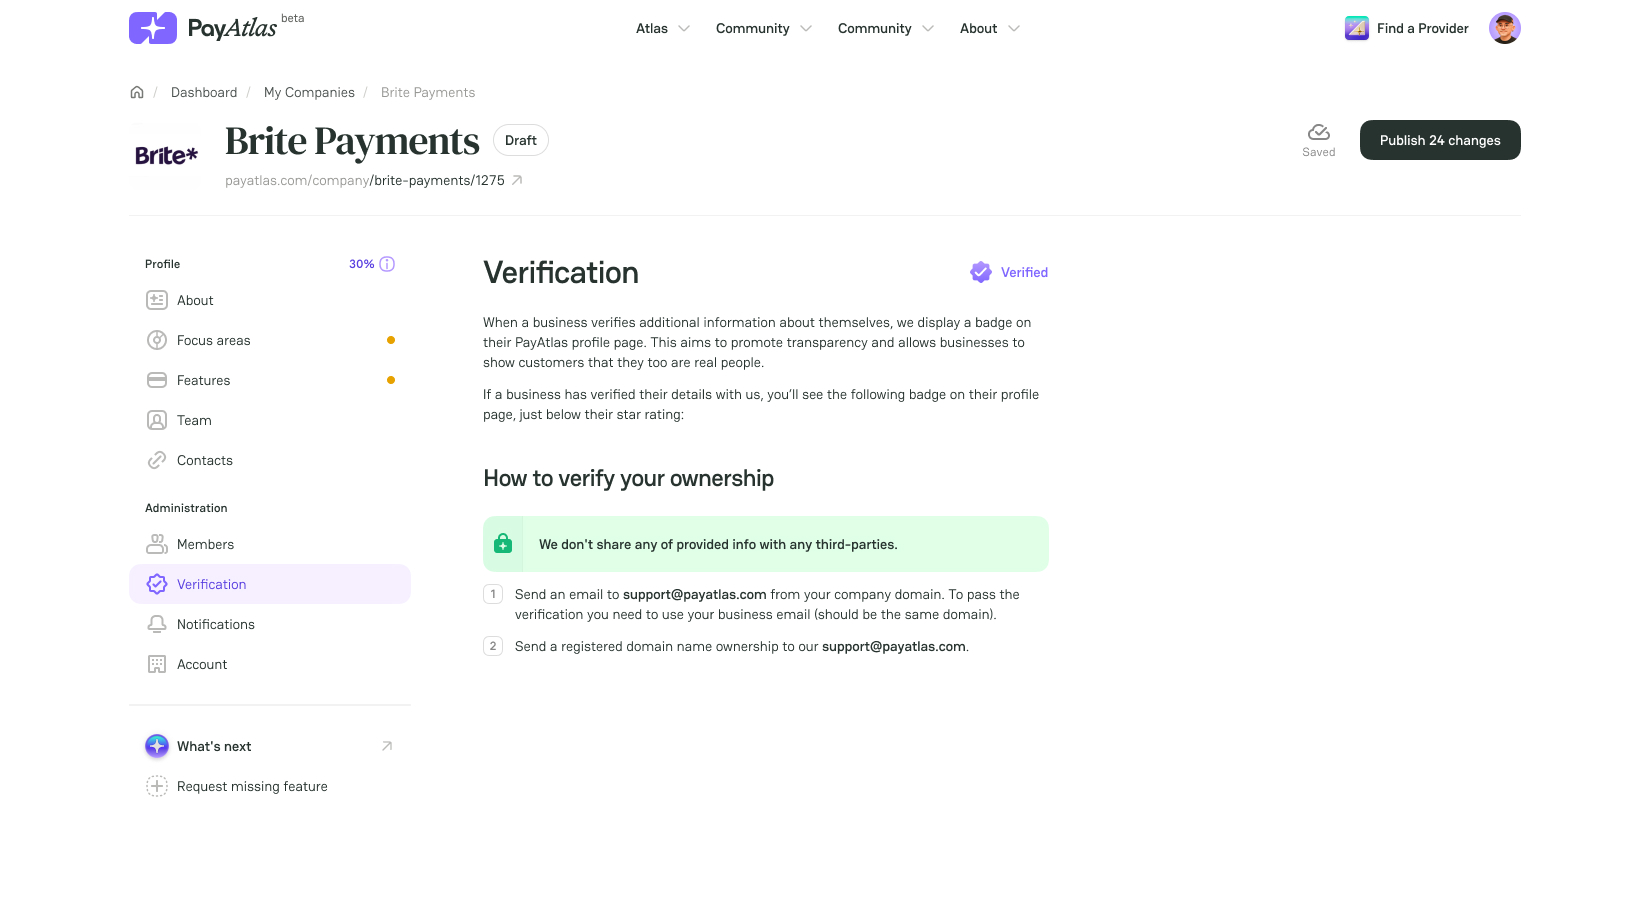
Verification
The Verification process is crucial for a Company. It builds trust among other PayAtlas users and your potential clients.
- Go to the Verification tab in the Company Administration settings.
- Send an email to support@payatlas.com from your Company domain. Make sure you use your business email.
- Attach a registered domain name ownership to the letter and send it.
- After the Verification procedure is successful, your Company is marked as Verified.
Account
Company account settings combine the possibilities of changing the Company slug and Archiving the Company.
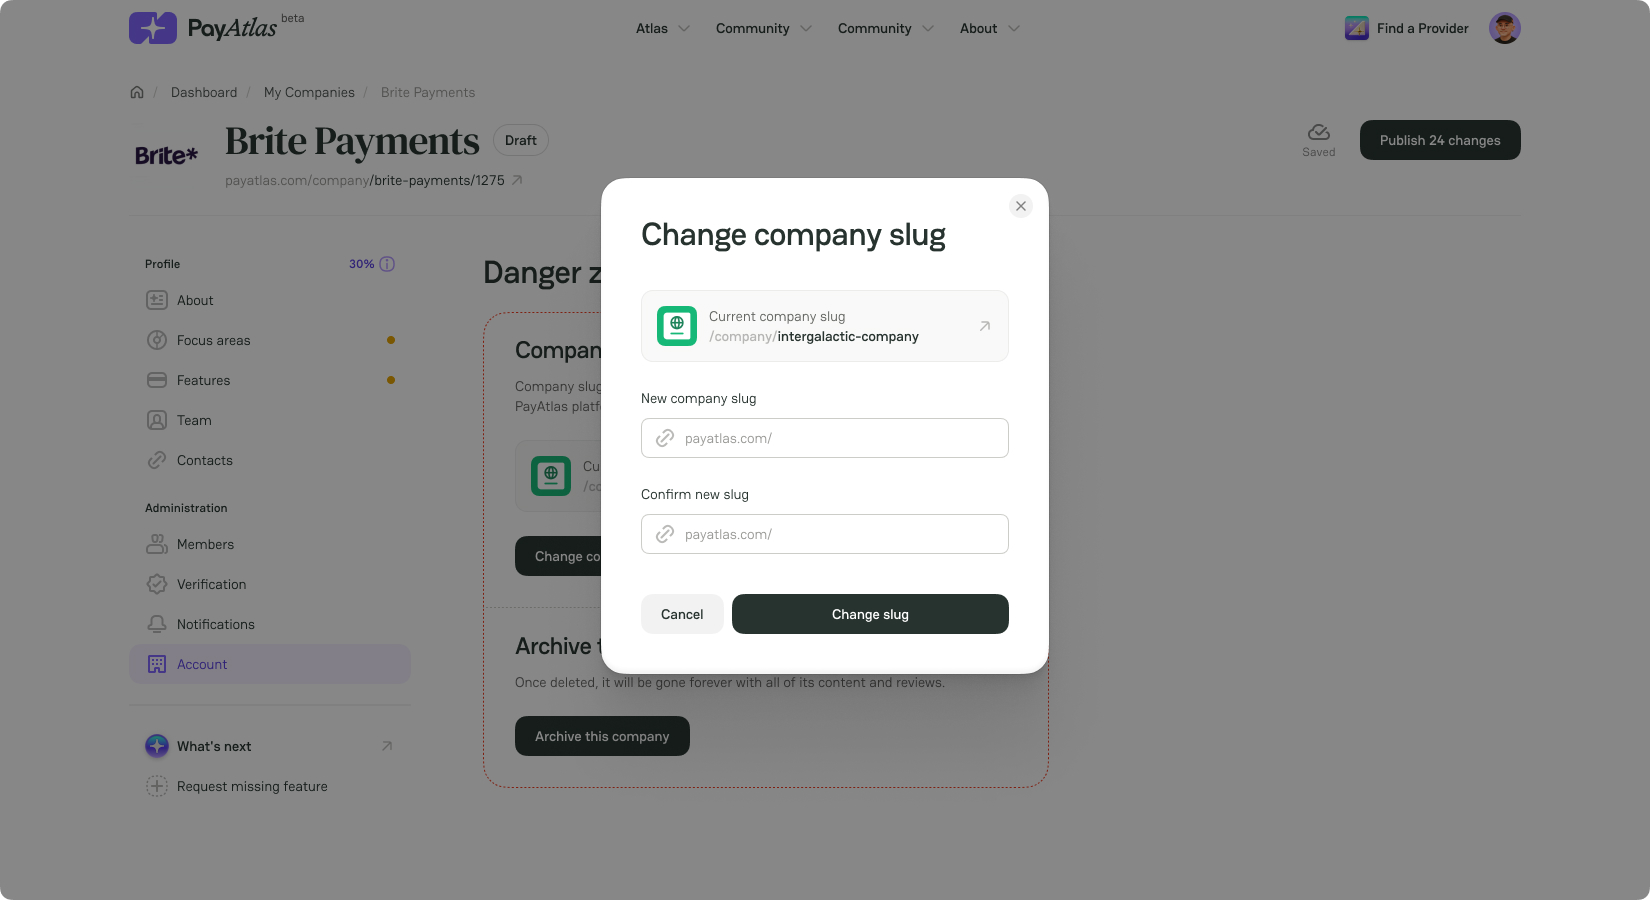
Change Company slug
- Go to the Danger zone section in the Account tab.
- Click Change company slug. The system opens a modal with a warning.
- Click Confirm & Proceed.
- Enter the new slug and confirm it.
- Click Change slug.
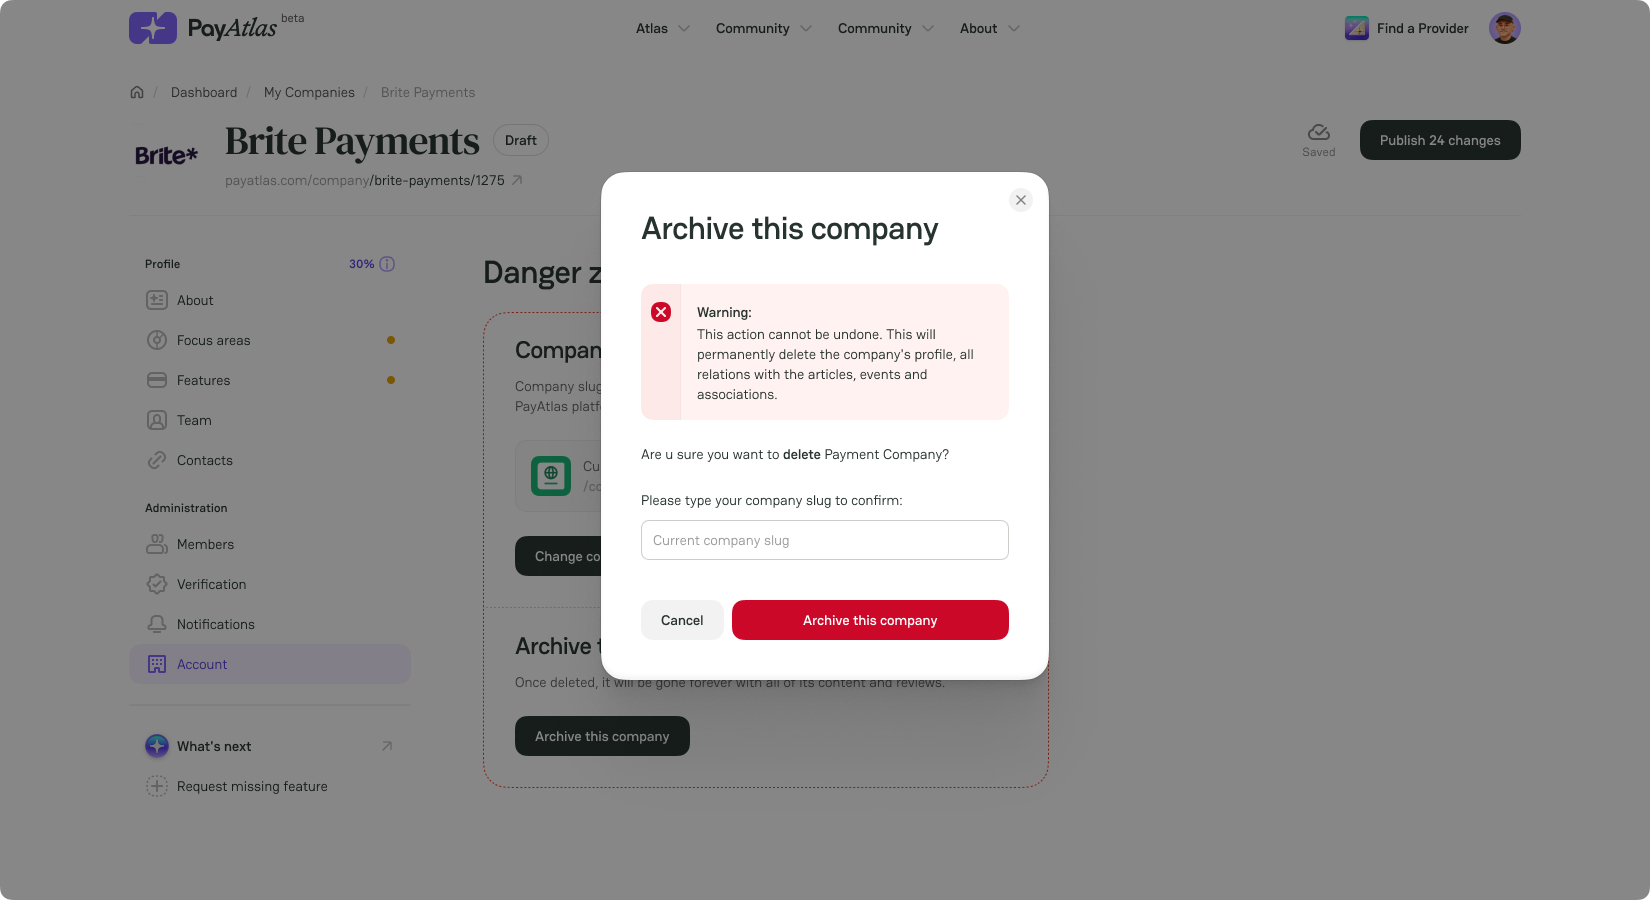
Archive the Company
If you no longer need a PayAtlas account for your Company, you can archive it.
- Go to the Danger zone section in the Account tab.
- Click Archive this company. The system opens a confirmation modal.
- Enter the Company slug and confirm that you want to permanently archive your Company by clicking the respective button.
Be aware! Archiving your Company removes all related content materials and deletes the Company Profile.
Comments