Manage Company Profile
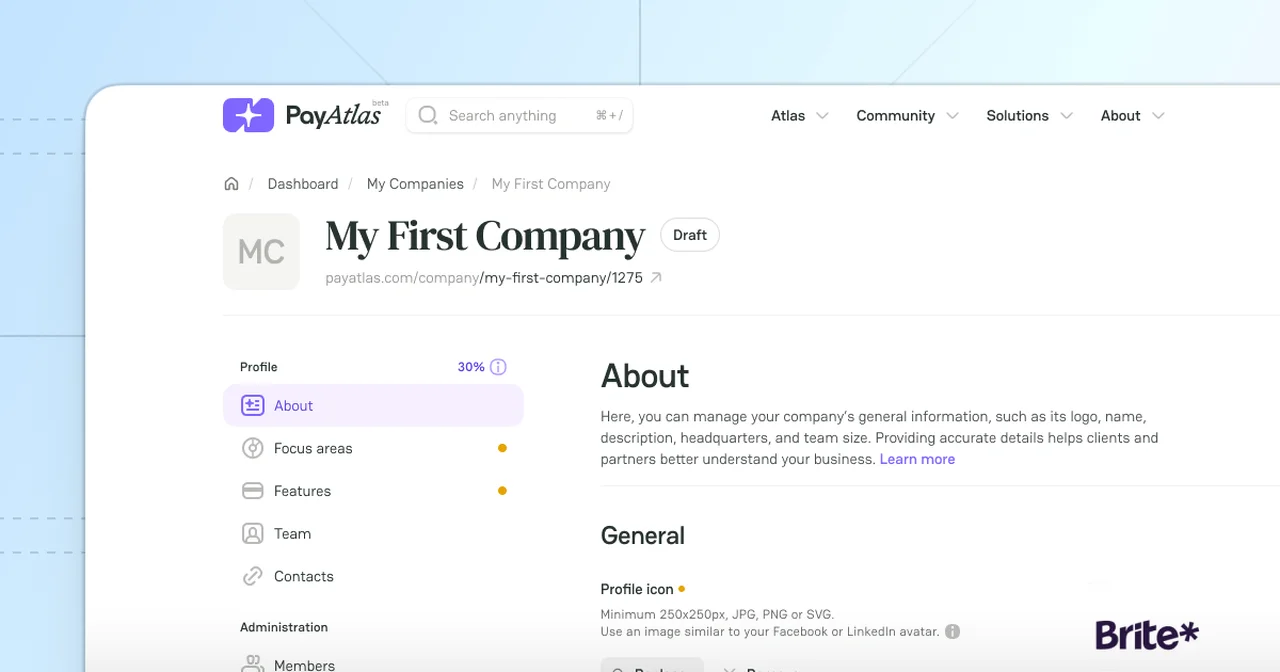
The Company Profile summarises the most important Company information that will be transmitted to its target audience and followers after publishing. Thus, it is vital to make your Company Profile as informative and appealing as possible to gain trust among the fintech community.
Fill in the About info
- Put the cursor on the User icon at the top right corner of the main page.
- Click My Companies, and the system redirects you to the My Companies page accordingly.
- Then, click the specific Company to get redirected to its Company Profile.
- The About tab is divided into three sections: General, Extra and Media.
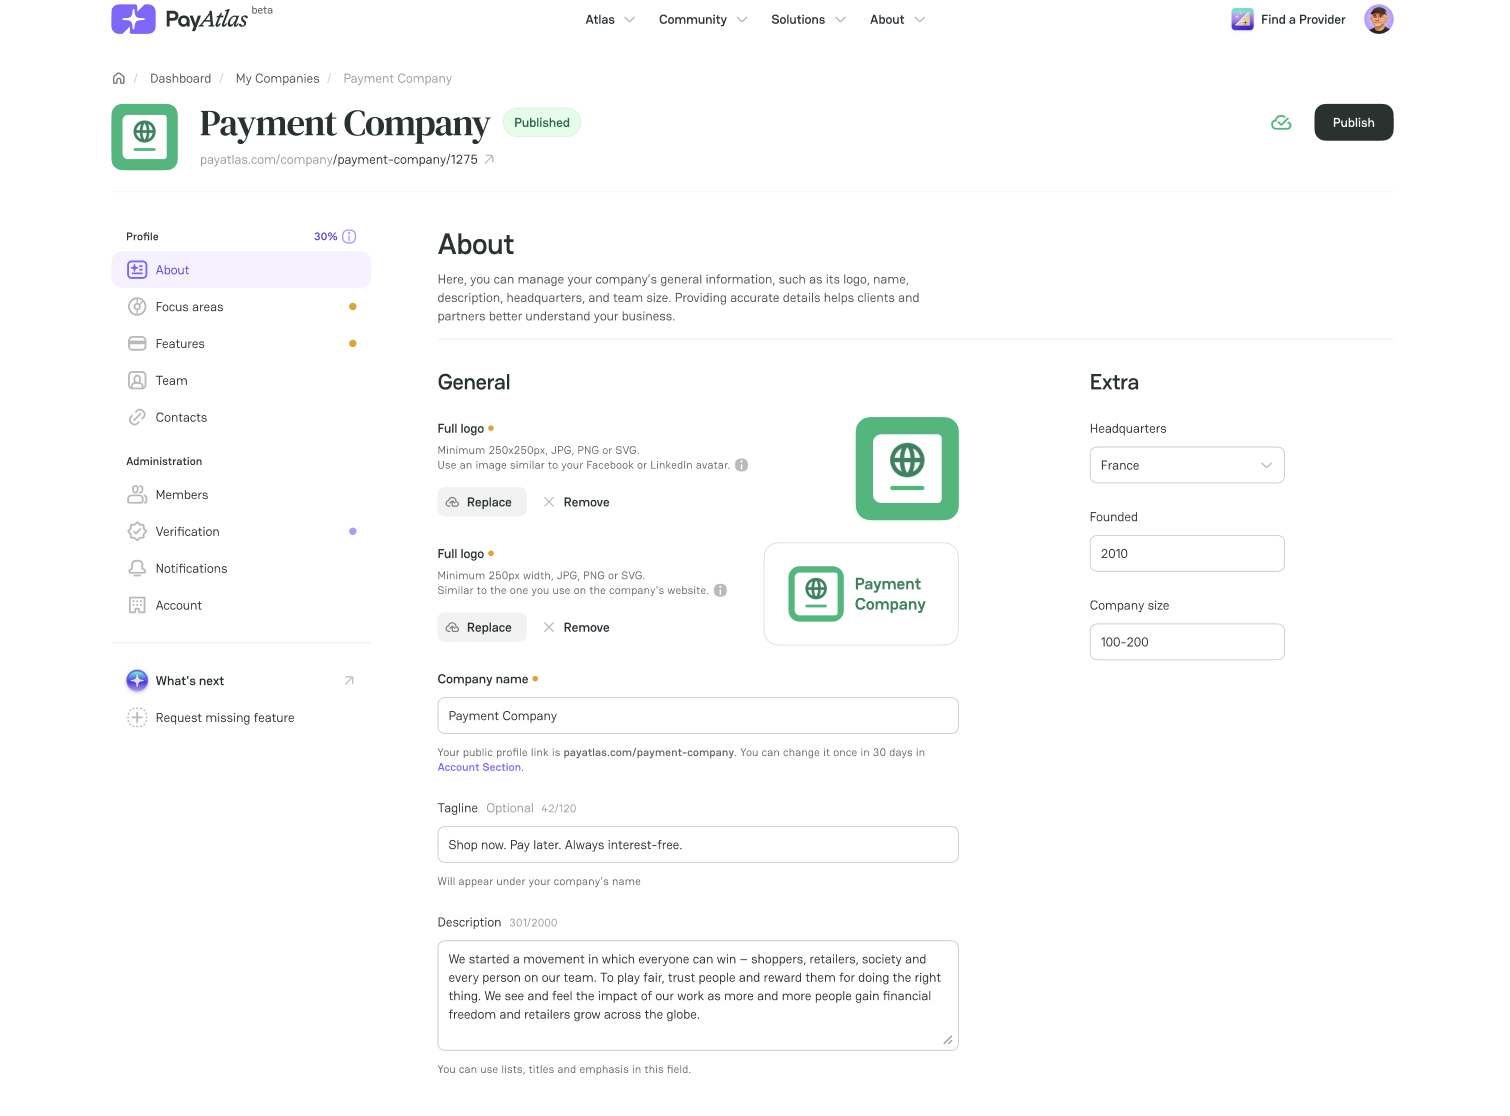
General
General Company information includes Company name, Description and various Logos.
| Option | Description |
|---|---|
| Profile icon | It is an image that functions as an avatar for your Company at PayAtlas. ⇢ The image you select to upload should be in JPG, PNG, or SVG and no smaller than 250x250 px. |
| Full logo | It is an image serving as your Company logo on our platform. The concept is identical to the one you use on your website to raise Brand recognition and visibility. ⇢ The image you select to upload should be in JPG, PNG, or SVG and at least 250 px wide. |
| Company name | You define your Company name while creating the Company. But you can change or update the name if needed. ⇢ Be aware that your Public Profile link is built on the Company name. The link itself can be altered once in 30 days. |
| Tagline | Tagline is a short, memorable phrase that captures the essence of a brand. ⇢ The text data should not exceed 120 characters. |
| Description | It is the main overview of your Company, representing its key attributes and giving other users a clear understanding of which Company is in front of them. ⇢ You can use the following editing functions in this field: Lists, Title, Emphasis. |
Extra
Additional information that is worth mentioning.
| Option | Description |
|---|---|
| Headquarters | The Company’s Headquarters refer to its central location or the main office where the leadership and core operations are based. |
| Founded | This field specifies the exact time when the Company was founded. |
| Company size | The Company size refers to the actual number of its employees. |
Media
Media items that function to expand the users' understanding of your Company.
| Option | Description |
|---|---|
| Promo video | Promo video is a relatively short, engaging video that shows how your product functions and showcases its value proposition. ⇢ You can add the link to your public video. The system places it as the first item in your image gallery. |
| Image gallery | To add more media to your Company Profile and show your followers more details of the Company’s activities, you can add the images to the Image gallery. ⇢ Drag and drop the needed files or browse them into the corresponding field. ⇢ The image you select to upload should be in JPG, PNG, or SVG with a minimum of 1280x720 px. |
Define your Focus areas
The Focus areas define the main scope of services a Company provides based on its supported industries and locations.
| Focus areas segmentation | Description |
|---|---|
| Services | The Services mark the range of financial activities and opportunities a Company can provide its customers. ⇢ To enumerate your Services, click Select and pick the needed options. ⇢ If needed, you can update this information by clicking Edit next to the Services overview. |
| Industries | The supported Industries define the categories of clients you want to attract and their major economic activities. ⇢ To specify the Industry you support, click Select and pick the needed options. ⇢ If needed, you can update this information by clicking Edit next to the Industries overview. |
| Geography | The Geography section describes all the regions where the given Company provides services. ⇢ To mention your Geography, click Select and pick the needed options. ⇢ If needed, you can update this information by clicking Edit next to the Geography overview. |
Manage Services details
- You can manage the details of the chosen Services and add or update their specific information.
- To add the Service description, enter the needed text data into the Short description field.
- You can also add the Pricing by entering the amount into the respective field.
- To add or update all the Services, click the downward arrow to expand the details of another Service. Then, repeat the flow.
- Click Save and close.

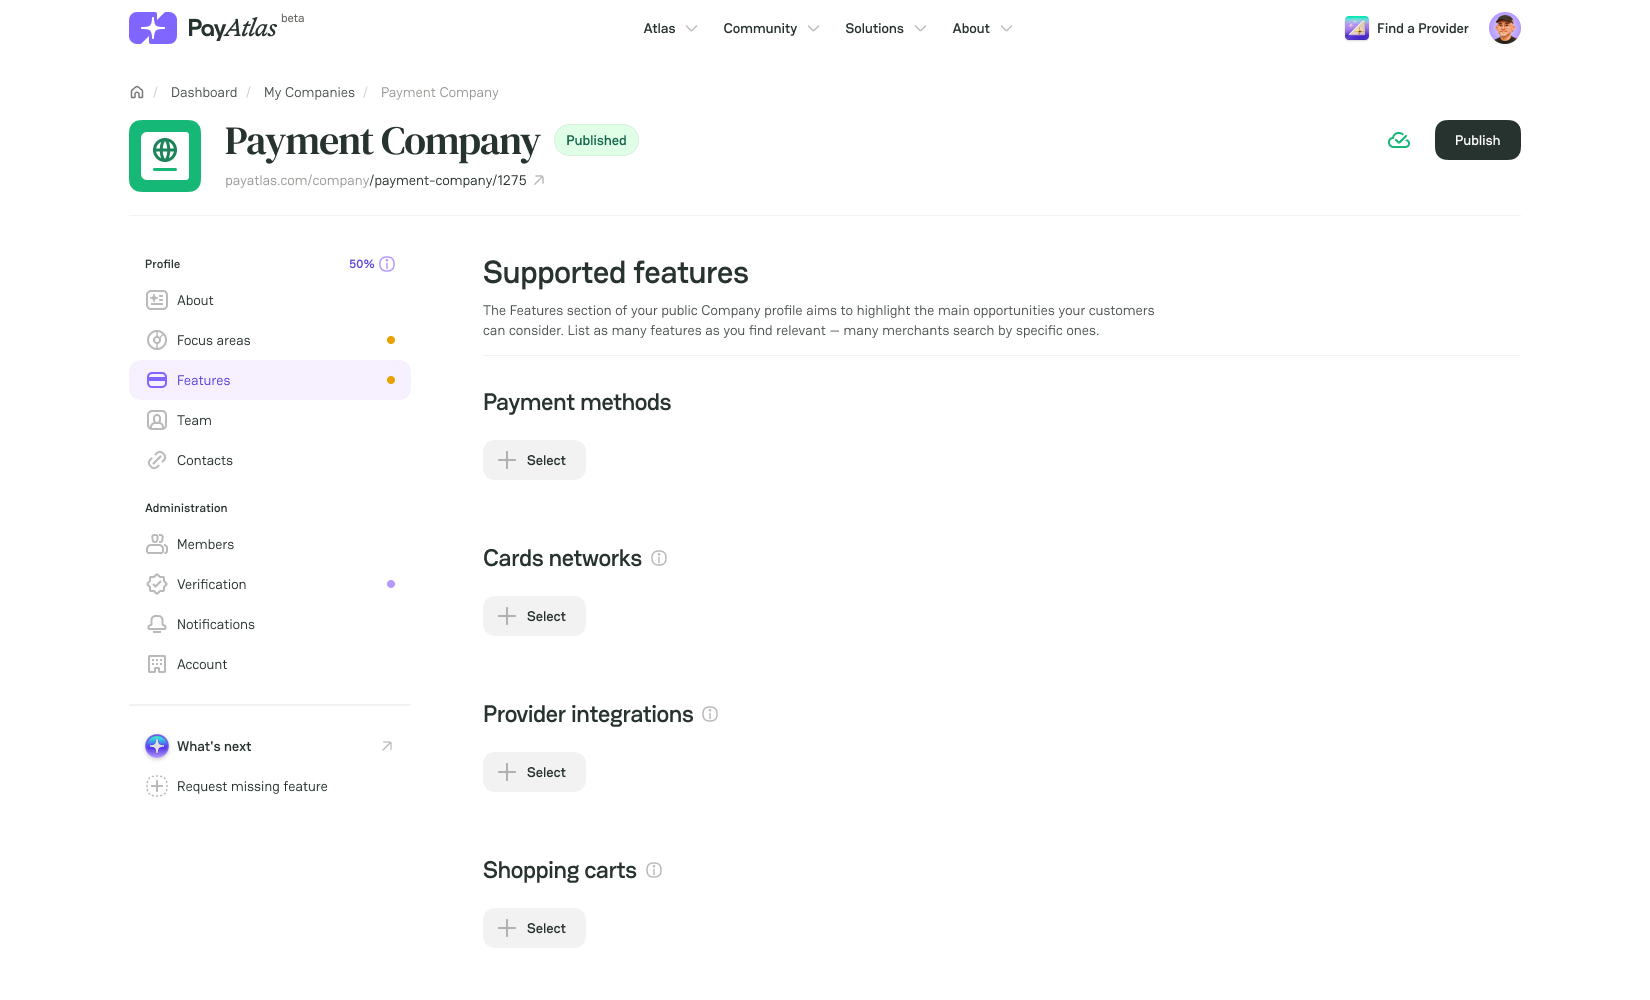
Outline Features
- The Features section of your public Company Profile aims to highlight the main opportunities your customers can consider. It showcases what value a given Company can bring.
- To specify the {feature} you support, click Select and pick the needed options.
- If necessary, you can update this information by clicking Edit next to the {feature} overview.
| Supported feature | Description |
|---|---|
| Payment methods | The Payment methods determine ways that customers can pay for goods or services. |
| Provider integrations | The Provider integrations shows the connections between a Company’s system and external Payment Providers. |
| Shopping carts | The Shopping carts are the feature that enables customers to select and temporarily store products they want to purchase before the checkout stage and payment processing. |
| Transaction currencies | The Transaction currencies are the currencies the customers can use when making a purchase. |
| Settlement currencies | The Settlement currencies are the currencies in which a Company receives its final payment after a transaction is processed. |
| Merchant business licenses | The Merchant business license is official government-issued permission allowing a Company to legally operate and sell goods or services. |
| Additional features | The Additional features include Tokenization, Payouts, Fraud Prevention, etc. |
Present the Team
- The Team section in the Company Profile presents the team and each of its members.
- Go to the Team tab of your Company Profile page.
- Each team member has a personal user Profile to fill in and customise. Thus, you can show the member info card on the Company Profile.
- To show the team members info cards, you need to send them an invite to join your organisation.
- After your teammate accepts the invitation, their info card becomes available in the Team section of the Company Profile.
- You can switch on/off the card toggle to manage its visibility and display team members based on your needs.

Share Contacts
The Contacts section refers to the various ways PayAtlas users and your potential customers, clients, or partners can get in touch with a business.
- Go to the Contacts tab of your Company Profile page.
- . The page is divided into two sections: Company and Social.
- . Point to the Company section and fill in the fields with the necessary links: Website, Support email, Pricing, Blog, Documentation, Status page and Open vacancies.
The Status page provides additional information about the Company that shows the potential customers its level of reliability.
- Then, scroll to the Social section and add the links to the Company social profiles.

Comments